You open the fridge, and that $10 pack of chicken you bought three days ago has already turned a questionable shade of gray. The bell peppers are limp. The bread is stale. And you are throwing money directly into the trash can. This is the reality for most households—wasting food is essentially wasting cash. The good news? You do not need professional restaurant equipment or expensive gadgets to fix this. Learning how to extend food shelf life vacuum sealer techniques can save you hundreds of dollars annually. The secret lies in removing oxygen, the primary culprit behind spoilage. And the best part? You can do this effectively without blowing your monthly grocery budget.
Food waste is not just an environmental issue; it is a direct hit to your wallet. By understanding the simple science of oxidation and moisture control, you can transform how you store bulk purchases, leftovers, and fresh produce. This guide will walk you through practical, affordable methods that work in a real kitchen, not just a lab. You will learn exactly which tools to buy, which foods benefit most, and how to avoid common mistakes that actually shorten shelf life. Let us stop throwing away money and start preserving food like a pro.
Why Does Food Spoil So Fast in Your Kitchen?
The Three Enemies of Freshness
Food spoilage is primarily driven by three factors: oxygen, moisture, and microorganisms. Oxygen causes oxidation, which turns fats rancid and changes the color of meats. Moisture provides the perfect breeding ground for bacteria and mold. Microorganisms, including bacteria, yeast, and fungi, feed on your food and multiply rapidly when conditions are right. Understanding these enemies is the first step to defeating them.
The Role of Temperature in Spoilage
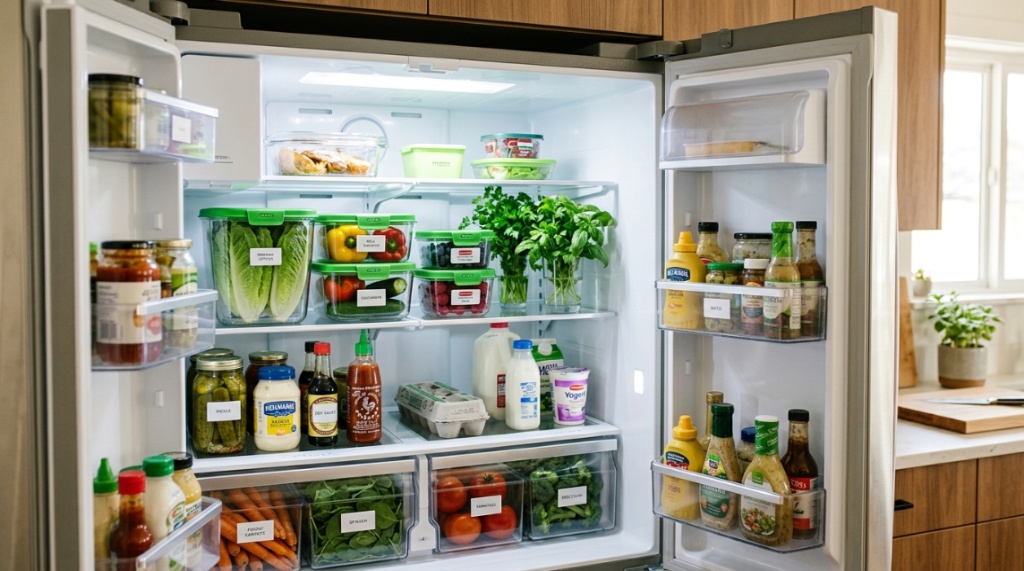
Temperature abuse is a silent killer of food freshness. The “danger zone” for bacterial growth is between 40°F and 140°F. Every minute your food sits in this range, bacteria double. Your refrigerator should maintain a steady 35°F to 38°F. Even a slight fluctuation of 5 degrees can cut the shelf life of dairy and meats by half. Using a simple appliance thermometer can save you from expensive spoilage.
The Oxygen Factor
Oxygen is the most controllable factor in extending shelf life. When oxygen interacts with food, it triggers enzymatic browning (think cut apples turning brown) and provides the fuel for aerobic bacteria. Removing oxygen dramatically slows these processes. This is why vacuum sealing is so powerful—it physically removes the air that causes decay.
What Is a Vacuum Sealer and How Does It Work?
Basic Mechanics of Vacuum Sealing
A vacuum sealer works by sucking air out of a specially designed bag and then heat-sealing the bag shut. This creates an airtight environment that removes nearly all oxygen. Without oxygen, aerobic bacteria cannot survive, oxidation stops, and moisture loss is prevented. The result is food that stays fresh three to five times longer than standard storage methods.
Different Types of Vacuum Sealers
There are two main types of vacuum sealers for home use: external (suction) sealers and chamber sealers. External sealers are the most affordable option, usually costing between $30 and $80. They work by sucking air out of the bag from outside the machine. Chamber sealers are more expensive and professional, drawing air from inside a chamber, which is better for liquids. For budget-conscious households, an external sealer is perfectly adequate.
How It Compares to Other Storage Methods
Standard plastic wrap and zip-top bags leave significant amounts of air inside. Even squeezing out air manually leaves about 20% of the original air. Freezer burn occurs when moisture evaporates from the food surface and forms ice crystals. Vacuum sealing prevents this entirely. It is not just better; it is a fundamentally different level of protection.
Which Foods Benefit Most from Vacuum Sealing?
Meats, Poultry, and Fish
Raw meat is one of the most expensive items in your grocery budget. Vacuum sealing extends its freezer life from 3 months to 12–18 months. Ground beef, chicken breasts, and salmon fillets all benefit tremendously. The key is to portion meats before sealing—individual servings allow you to defrost only what you need, reducing waste.
Cheese and Dairy Products
Hard cheeses like cheddar, parmesan, and gouda are excellent candidates for vacuum sealing. Without oxygen, mold cannot grow on the surface. A block of cheddar that would last 3 weeks in the fridge can last 6 months or longer. Soft cheeses like brie are trickier because they can be crushed, but they still benefit from extended freshness.
Vegetables and Fruits
Vegetables like bell peppers, broccoli, and green beans freeze exceptionally well when vacuum-sealed. Fruits like berries, sliced peaches, and mangoes retain their color and flavor for months. Blanching vegetables before sealing stops enzyme activity and preserves texture. The only exception is whole mushrooms, which release moisture and become slimy; slice them first and flash freeze.
Dry Goods and Grains
Rice, pasta, flour, oats, and beans are susceptible to pantry pests and moisture. Vacuum sealing these items creates an impenetrable barrier against weevils, moths, and humidity. A bag of rice sealed today can remain fresh for 5 years. This is especially useful for bulk buyers and emergency food storage enthusiasts.
How Do You Properly Prepare Food for Vacuum Sealing?
Pre-Freezing Liquid-Rich Foods
Foods with high water content, such as berries, soups, and raw meats with marinades, need to be flash-frozen before sealing. If you vacuum seal a raw strawberry, the suction will crush it into a mushy puddle. Spread items on a baking sheet lined with parchment paper and freeze for 2 hours until solid. Then, transfer them to vacuum bags. This preserves shape and texture.
Portion Control Strategies
Think about how you actually cook. Do you need a full pound of ground beef for dinner, or just half? Pre-portion your food into meal-sized amounts before sealing. Label each bag with the contents and date using a permanent marker. This practice eliminates the need to thaw an entire package of chicken breasts when you only need two.
Blanching Vegetables for Best Results
Blanching is a quick boiling or steaming process that halts enzyme activity. Enzymes cause vegetables to lose color, texture, and nutrients even in frozen storage. Blanch green beans for 2 minutes, broccoli for 3 minutes, and carrots for 4 minutes. Immediately plunge them into ice water to stop the cooking. Dry them well before vacuum sealing.
Can You Vacuum Seal Without Buying Expensive Bags?
Reusable Vacuum Sealer Bags
Many manufacturers now offer reusable bags that can be washed and used up to 10 times. These bags are thicker and more durable, saving you money in the long run. They are perfect for dry goods and items that will be used quickly. While the initial cost is higher than disposable rolls, the per-use cost drops significantly over time.
Using Mason Jars with Vacuum Attachments
A surprising alternative is using mason jars with a specialized vacuum attachment. These attachments fit onto standard mason jar lids. This method is ideal for storing coffee beans, nuts, spices, and even dry leftovers. The jars are reusable indefinitely, dishwasher safe, and completely airtight. It is an excellent zero-waste option that also looks great in your pantry.
DIY Bag Alternatives
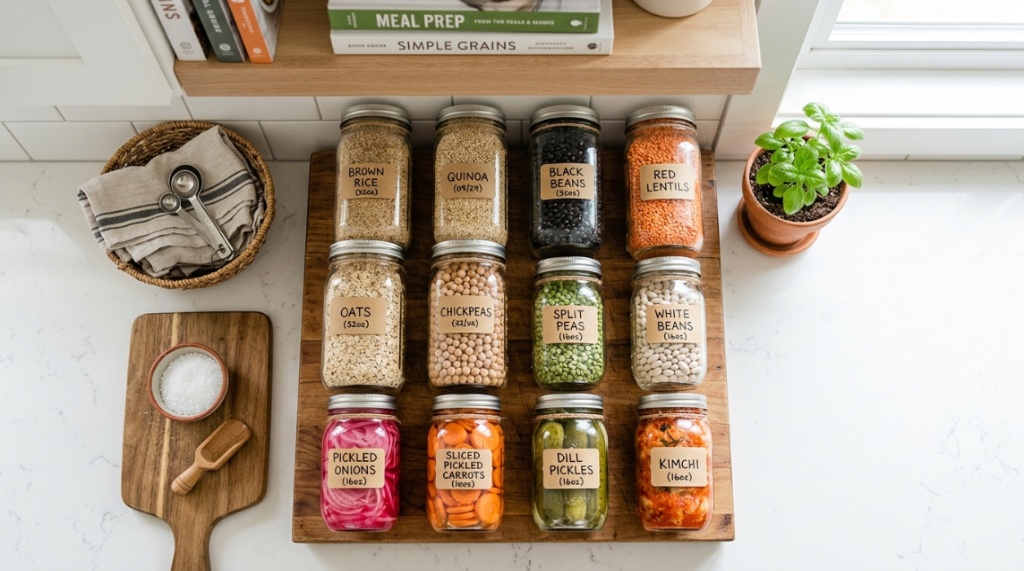
While not ideal, you can save money by using rolls of vacuum sealer bags and cutting them to the exact size you need. This reduces waste compared to pre-cut bags. Always leave at least three inches of extra bag material for the seal. Avoid cheap, off-brand rolls that have thin plastic—they often fail to seal properly, ruining your food,While keeping your food fresh is essential for your wallet, how you display those ingredients matters too. You can easily organize your glass storage jars and style open kitchen shelves like an interior designer without sacrificing functionality.
How to Extend Food Shelf Life Vacuum Sealer Techniques for Different Foods
Perfecting the Meat Seal
For raw meats, pat them dry with a paper towel before sealing. Excess moisture can interfere with the heat seal. If you are freezing ground beef, form it into a thin, flat patty shape inside the bag. This allows for faster thawing and easier stacking in the freezer. Always use the “moist” or “gentle” setting on your machine if available to avoid sucking liquid into the seal area.
Sealing Liquids and Soups
Liquids are notoriously difficult to vacuum seal with external machines. The best technique is to freeze the liquid in a silicone muffin pan or ice cube tray first. Once frozen solid, pop the cubes out and place them in a vacuum bag. Seal on the “dry” setting. This allows you to store homemade broth, soups, and sauces without a mess.
Sealing Delicate Items Like Bread and Pastries
Fresh bread and croissants can be crushed by a standard vacuum seal. The solution is the “pulse” or “gentle” mode on many sealers. Pulse the vacuum until the bag tightens slightly around the bread, then stop manually. Alternatively, place a piece of crumpled parchment paper inside the bag to create an air pocket that acts as a cushion. This preserves the delicate texture.
To truly master these techniques and find the right tool for your kitchen, consider investing in a reliable machine. You can extend food shelf life vacuum sealer options that fit any budget without sacrificing performance.
Is Vacuum Sealing Worth the Cost for a Budget-Conscious Household?
Calculating the True Cost Savings
Let us do the math. The average American family throws away $1,500 worth of food annually. A basic vacuum sealer costs about $50. A roll of bags costs $10 and lasts for dozens of uses. Even if you only save 20% of your previous waste, that is $300 saved per year. The machine pays for itself in less than two months. This is not an expense; it is an investment.
Bulk Buying Advantages
Warehouse clubs like Costco and Sam’s Club sell meat and produce in bulk at significantly lower per-pound prices. Without a vacuum sealer, you would need to use or freeze that bulk meat within days, risking freezer burn. With a sealer, you can buy a 10-pound pack of chicken thighs, portion them out, and enjoy weeks of ready-to-cook protein. The savings on bulk buying alone often justify the purchase.
Reducing Takeout and Convenience Food Expenses
When you have vacuum-sealed, pre-portioned ingredients ready to go, cooking from home becomes faster than ordering takeout. A bag of seasoned, vacuum-sealed chicken breast can go directly from the freezer to a sous vide bath or a hot pan. You are far less likely to order pizza when a perfect meal is already prepped and waiting in your freezer.
What Common Mistakes Ruin Vacuum Sealed Food?
Not Drying the Food Surface
Moisture is the enemy of a good seal. If the bag’s inner edge is wet, the heat-seal bar will not bond the plastic properly. The result is a bag that leaks air within hours, negating all your effort. Always pat meat dry with paper towels. For wet vegetables, let them air dry on a towel for 15 minutes before bagging.
Overfilling the Bag
When you overfill a bag, food particles can get trapped in the seal area. Those tiny crumbs or grains create microscopic gaps in the heat seal. Air will slowly seep back in, causing spoilage. Leave at least 3 inches of empty space at the top of the bag. This ensures a clean, airtight seal and gives you material to cut open later.
Using the Wrong Bag Material
Not all plastic bags are created equal. Do not use standard zip-top bags or generic kitchen bags in a vacuum sealer. These bags are textured and will not hold a vacuum. Always use bags specifically designed for vacuum sealing, which have a textured inner layer that allows air to escape during suction. The wrong bag will simply not work.
How to Store Vacuum Sealed Items for Maximum Longevity
Freezer Organization Systems
A disorganized freezer leads to forgotten food. Use a “first in, first out” system. Place newly sealed items at the bottom or back of the freezer. Move older items to the top or front. Use a marker to write the date directly on the bag. Create zones—meats in one area, vegetables in another, prepared meals in a third. This prevents the dreaded “mystery bag” syndrome.
Pantry Storage for Dry Goods
Vacuum-sealed dry goods should be stored in a cool, dark, and dry pantry. Avoid areas near the oven, dishwasher, or direct sunlight, as heat degrades the plastic seal over time. For extra protection, store vacuum-sealed bags inside a lidded plastic bin. This provides a second layer of defense against pests and physical punctures.
Refrigerator Storage Tips
For items you plan to eat within a few weeks, vacuum sealing is still beneficial. Sealed cheese, deli meats, and prepared salads stay fresh significantly longer. However, do not store vacuum-sealed raw meat in the refrigerator for more than 2–3 weeks. The anaerobic environment can sometimes allow botulism-causing bacteria to grow in low-acid foods if stored improperly at unsafe temperatures. Always keep the fridge below 38°F.
Frequently Asked Questions
Can you vacuum seal raw meat and put it directly in the freezer?
Yes, absolutely. In fact, this is one of the best uses for a vacuum sealer. Pat the meat dry with paper towels first to remove excess moisture. Portion it into meal-sized servings. Seal the bag on the “moist” setting if available. Label with the date and freeze flat for easy stacking. This prevents freezer burn for up to 12 months.
How long does food last in a vacuum sealed bag compared to regular bags?
Vacuum sealing extends shelf life by 3 to 5 times compared to standard storage methods. For example, pre-cooked meat lasts 3 days in a regular fridge container but 14 days vacuum sealed. In the freezer, meat lasts 3 months in plastic wrap but 12 to 18 months vacuum sealed. Dry goods like flour last 6 months in a bag but 2 years vacuum sealed.
Do you need special bags for a vacuum sealer?
Yes, you must use bags specifically designed for vacuum sealers. These bags have a textured embossed pattern that allows air to escape during the suction process. Standard plastic bags, zip-top bags, or generic storage bags lack this texture and will not remove the air effectively. They also cannot form a reliable heat seal.
Can you vacuum seal fresh vegetables without blanching them?
You can, but the results will be disappointing. Without blanching, enzymes in vegetables continue to break down cell walls, causing loss of color, texture, and nutrients over time. Blanching for 2–3 minutes stops this enzyme activity. However, vegetables like lettuce, cucumbers, and celery should never be vacuum sealed raw—their high water content and delicate structure make them turn mushy.
Is it safe to vacuum seal leftovers?
Yes, vacuum sealing leftovers is safe and effective. Cool the food completely before sealing to prevent condensation inside the bag. Vacuum sealing removes the air that causes bacteria to grow, extending fridge life by 2–3 days. For longer storage, freeze the sealed leftovers immediately. Always reheat food to an internal temperature of 165°F before eating.
What should you never put in a vacuum sealer?
Avoid vacuum sealing raw mushrooms, whole soft fruits like berries without pre-freezing, and liquids that are not pre-frozen. Also, avoid sharp items like bones or hard pasta that can puncture the bag. Do not vacuum seal raw garlic or onions in a bag you plan to freeze—the enzymes cause off-flavors. Finally, never seal carbonated beverages or flour in a way that releases fine dust into the machine.
Can you reuse vacuum sealer bags?
Yes, but only if they are designed to be reusable. Many brands now offer thicker, washable bags. For standard disposable bags, you can reuse them if they held a dry, non-greasy item like crackers or cereal. Wash them in warm soapy water, rinse thoroughly, and let them air dry completely. Discard any bag that held raw meat, fish, or poultry to avoid cross-contamination.