Why Homeowners in Miami, FL Prefer Simple Bathroom Door Unlock Methods
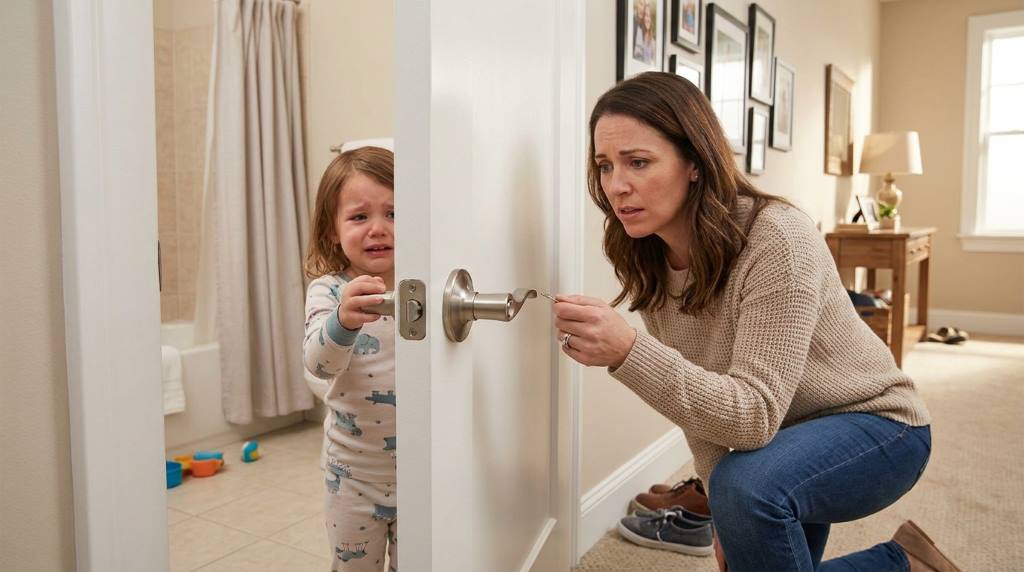
Miami homeowners care deeply about convenience, especially when it comes to household safety and quick fixes. Many residents search for practical ways to solve lock…
Know How To live Healthy
Miami homeowners care deeply about convenience, especially when it comes to household safety and quick fixes. Many residents search for practical ways to solve lock…
A gurgling drain alone may not mean major issues, but it could be a sign of a bigger problem. This is why it’s important to…
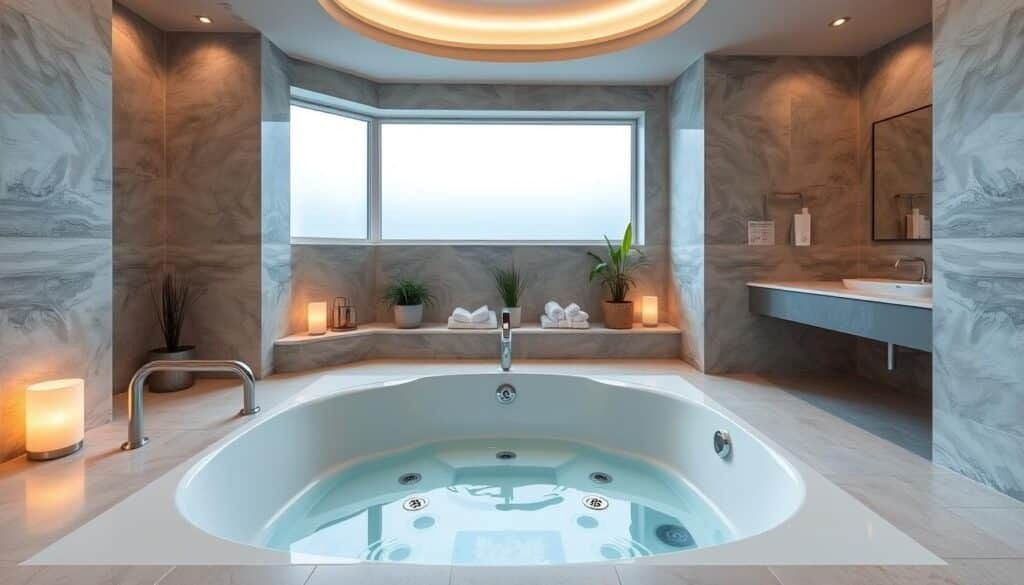
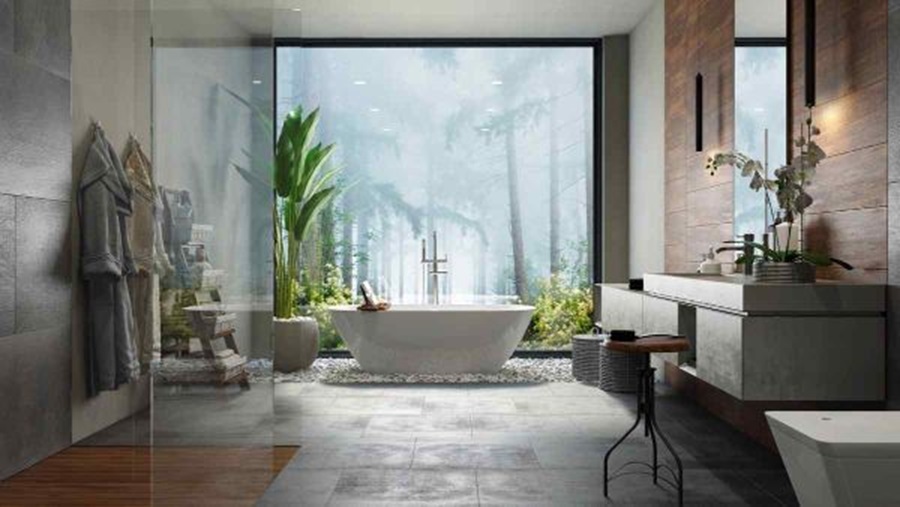
Imagine stepping into your bathroom and feeling like you’ve entered a five-star spa—soft lighting, calming colors, and luxurious fixtures that melt away the day’s stress.…
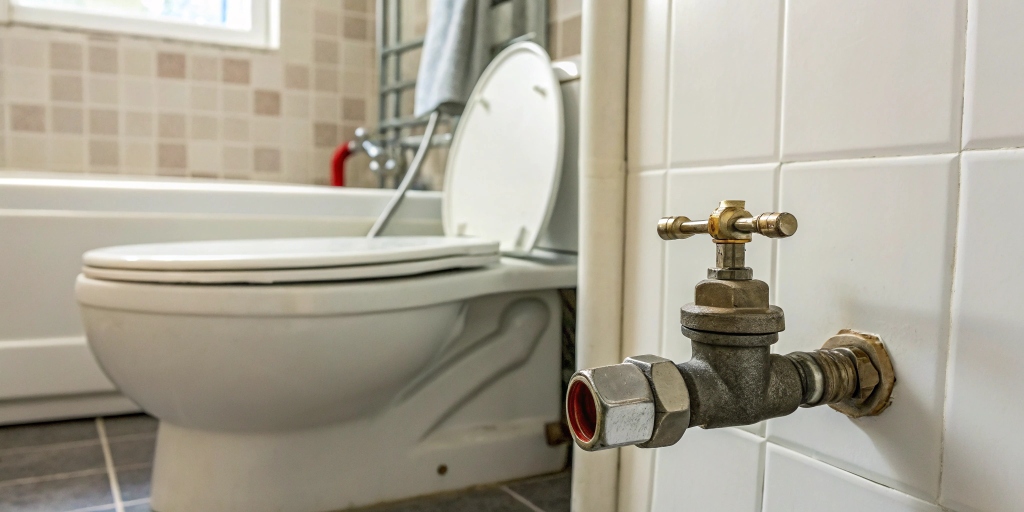
Imagine it’s the middle of the night, and you hear that dreaded drip-drip from your bathroom. Your toilet is leaking, and water is starting to…
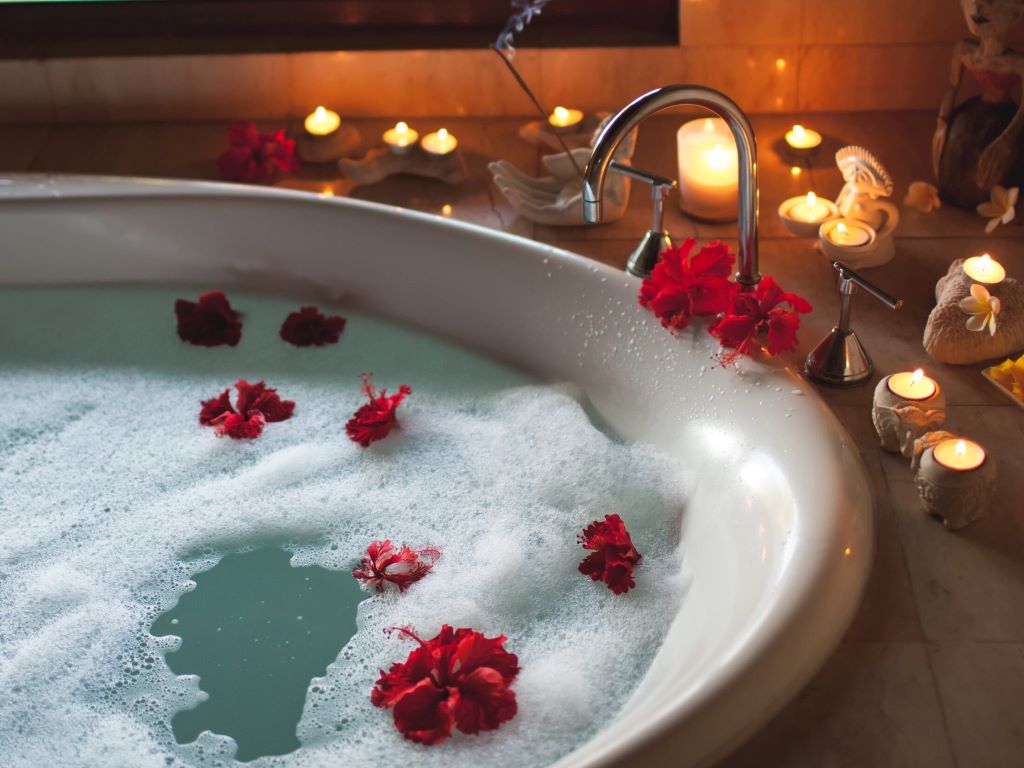
The allure of a luxurious jacuzzi bath is undeniable. It’s a sanctuary for relaxation, a place to unwind after a long day. For many homeowners,…
The bathroom, often a sanctuary of personal hygiene and relaxation, can be significantly enhanced by the simple addition of a bidet-style toilet seat. Among the…
The allure of a bubbling, warm jacuzzi bathtub is undeniable. After a long day, the prospect of sinking into swirling, therapeutic waters is a dream…
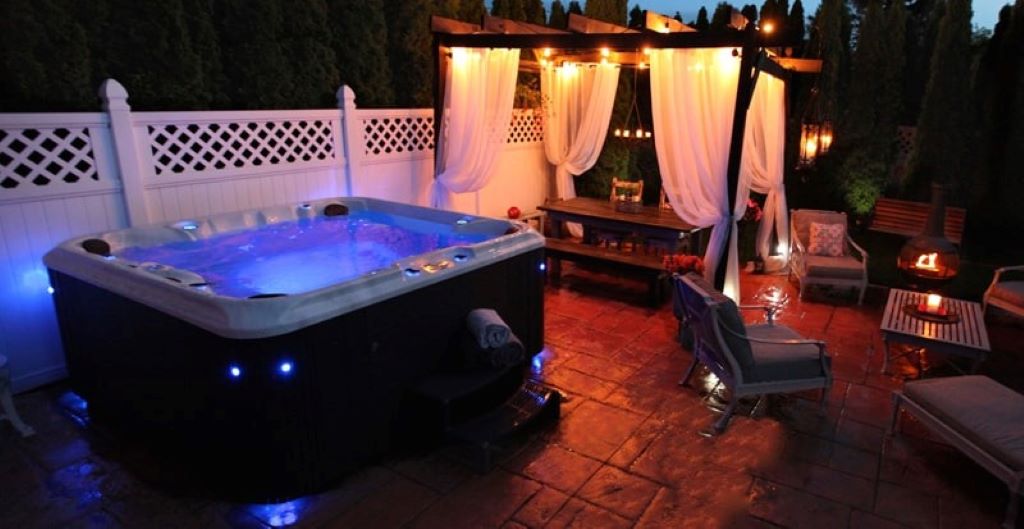
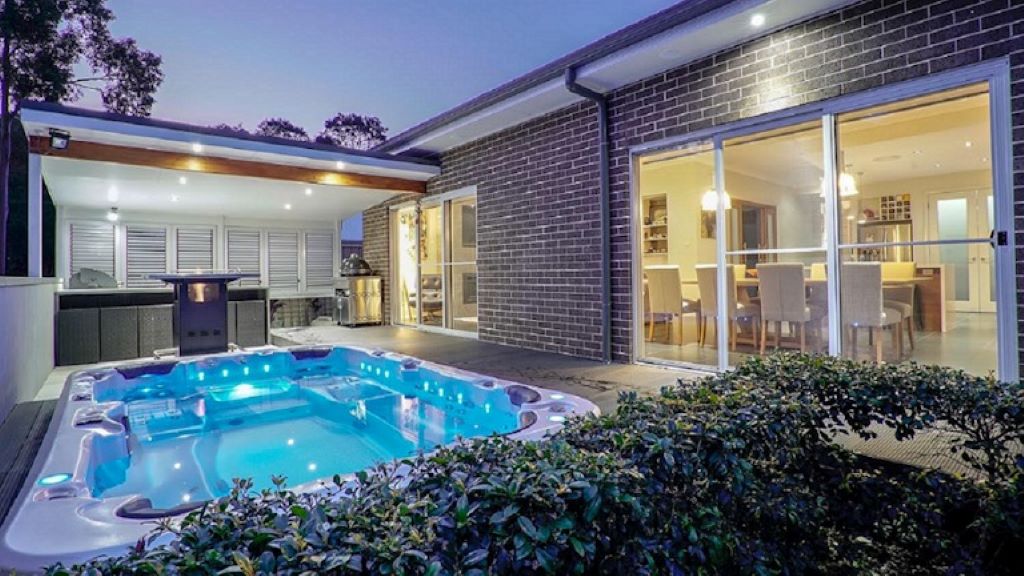
The allure of a bubbling, warm jacuzzi hot tub is undeniable. It’s a sanctuary for relaxation, a place to soothe sore muscles, and a hub…
The allure of a bubbling, fragrant bath is undeniable. Whether you’re seeking relaxation after a long day or simply indulging in a moment of self-care,…
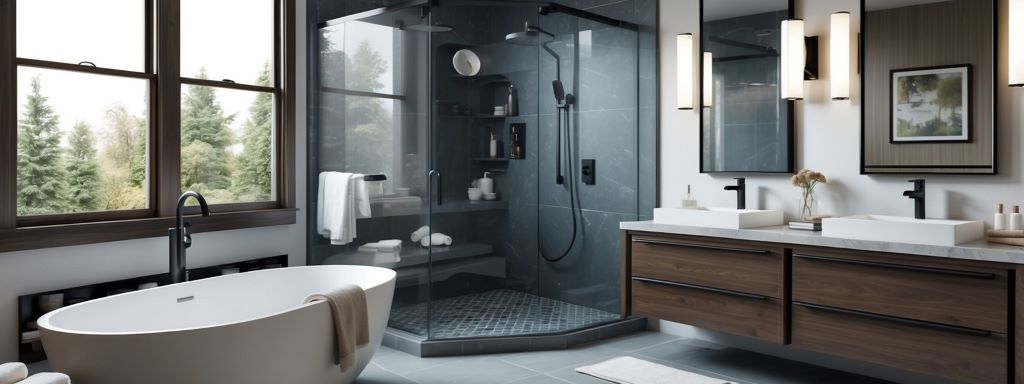
A well-designed family bathroom should be safe, functional, and comfortable for everyone in the household. Since it’s a frequently used space, ensuring it meets the…