Key Takeaways
- Push fit caps are the fastest way to seal a copper pipe, with no tools required.
- Compression caps offer a low-cost, reliable option using basic wrenches.
- Always shut off the water and drain the line before capping anything.
- Clean, square-cut pipe ends are essential for every no-solder cap.
- Check local codes before permanently capping pipes inside walls.
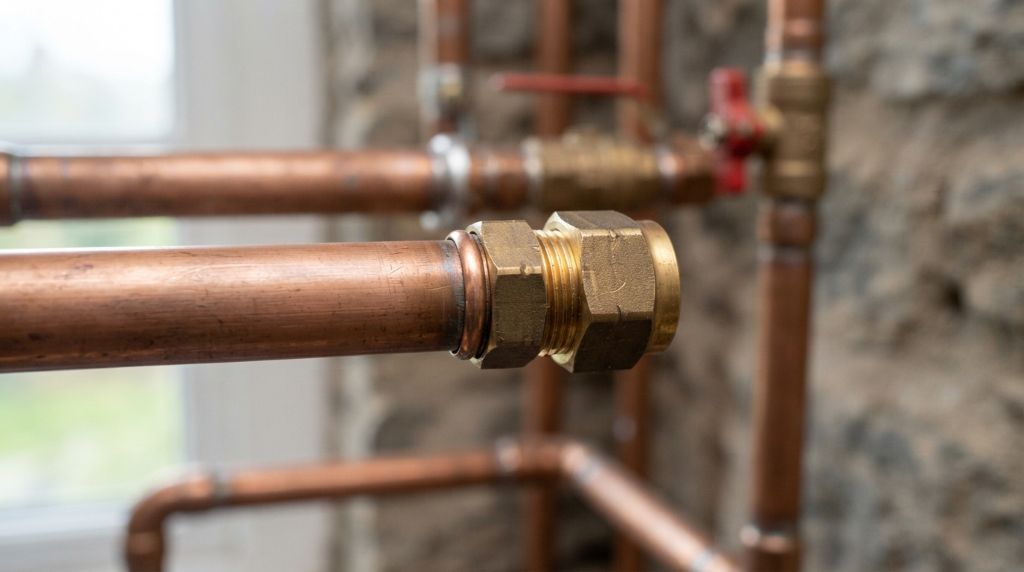
When we remodeled our basement bathroom, we removed an old utility sink. That left a live copper water line sticking out of the wall. Water was shut off, but the open pipe made me nervous. One accidental valve turn could flood our new flooring.
My father-in-law suggested soldering a cap on it. However, our townhouse bans open flames, and my torch skills are shaky at best. I needed another way. After some research, I found four solid methods to cap copper pipe without any soldering. I tested two of them myself, and both have held perfectly for over a year.
Capping a pipe sounds intimidating, but it is genuinely one of the easiest plumbing jobs. In this guide, I will show you exactly how to do it safely. You will learn which method fits your situation, budget, and skill level. Let’s get started.
Why You Might Need to Cap a Copper Pipe
Capping a pipe means sealing its open end so water cannot escape. Homeowners need this for more reasons than you might expect. Knowing your reason helps you choose the right cap.
The most common situation is removing a fixture. Maybe you pulled out an old sink, washing machine, or outdoor spigot. The supply lines remain live, so they must be sealed safely. Additionally, remodeling projects often leave orphaned pipes behind walls and floors.
Here are the typical reasons to cap a copper pipe:
- Fixture removal: You removed a sink, toilet, or appliance.
- Line abandonment: An old pipe is no longer needed anywhere.
- Leak damage: A burst section needs sealing before a full repair.
- Future projects: You plan to reconnect a fixture later.
- Seasonal shutdowns: Vacation homes and outdoor lines need winterizing.
Temporary versus permanent capping is an important distinction. Temporary caps hold while you repair or renovate. Permanent caps seal abandoned lines for years or decades. Therefore, your goal should guide your method choice.
Codes matter here too. The International Association of Plumbing and Mechanical Officials, which develops the Uniform Plumbing Code, requires abandoned lines to be sealed properly or removed entirely. An open, uncapped pipe fails inspection and creates real risk. Furthermore, some areas have rules about capping pipes inside walls versus leaving them accessible. A quick call to your building department clears up any confusion before you begin.
One more thing before any capping job. Confirm which line feeds the pipe. Hot and cold lines look identical, and guessing wrong leads to surprises. Trace the pipe or shut off the main valve to be certain.
Method 1: Push Fit Caps, the Fastest Solution
Push fit caps are my favorite method, and I used one for that basement line. These small fittings look like a stubby plug. Inside, they work exactly like push fit couplings. A rubber O-ring seals against the pipe wall, and steel teeth grip the outside.
The entire installation takes under a minute. Shut off the water, drain the line, cut the pipe square, and push the cap on firmly. That is genuinely all there is to it. No glue, no torch, no wrenches required.
Here is what makes push fit caps so popular:
- No special tools needed at all.
- Installation takes less than one minute.
- Removable later with a disconnect clip.
- Rated for the same pressure as the pipe itself.
- Perfect for beginners and emergency repairs.
Follow these steps for a proper installation:
- Shut off the water supply and open a faucet to drain pressure.
- Cut the copper pipe square with a pipe cutter.
- Deburr both edges and wipe the pipe clean.
- Mark the insertion depth on the pipe with a pencil.
- Push the cap on straight until it reaches the depth mark.
- Pull gently on the cap to confirm it is locked.
- Restore water slowly and check for any leaks.
The insertion depth matters more than people think. A half-inch cap needs the pipe seated about one inch deep. A partially seated cap may hold at first, then leak days later. Therefore, always mark the pipe and verify full insertion.
The cost runs higher than other options. Expect to pay five to ten dollars per cap. However, for a single job, the speed and simplicity easily justify the price. My basement cap took eight minutes total, including water shutoff.
Method 2: Compression Caps, the Budget Friendly Option
Compression caps have sealed copper lines for generations. If you want a cheaper method using tools you already own, this classic choice delivers. A compression cap costs just a few dollars at any hardware store.
The design uses three parts working together. A brass nut slides onto the pipe, followed by a small metal ring called a ferrule. When you tighten the nut, it squeezes the ferrule against the pipe. This metal-to-metal squeeze creates a dependable watertight seal.
Installation requires just two wrenches and a little patience:
- Shut off the water and drain the line completely.
- Cut the pipe square and deburr both edges.
- Slide the compression nut onto the pipe.
- Slide the ferrule onto the pipe after the nut.
- Insert the pipe fully into the cap body.
- Push the nut and ferrule up to the cap threads.
- Tighten the nut by hand until snug.
- Turn the nut one to two full times with a wrench.
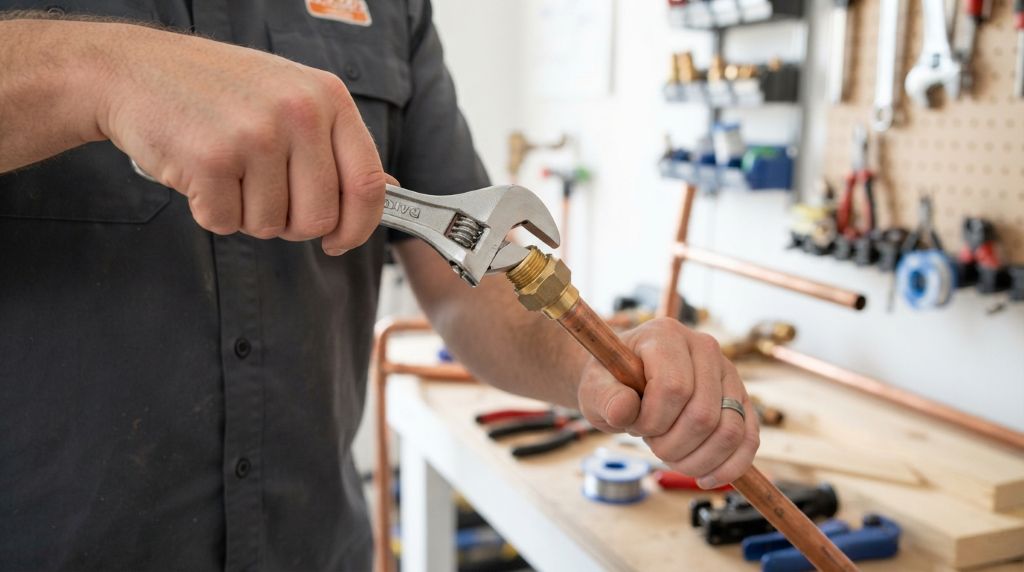
Here is the key technique. Use one wrench to hold the cap body steady. Use the second wrench to turn only the nut. This stops the cap from twisting during tightening. Additionally, resist overtightening, because a crushed ferrule actually causes leaks instead of preventing them.
Compression caps shine for temporary and semi-permanent jobs. They are removable and reusable if undamaged. Therefore, they suit renovation projects where you might reconnect a fixture later. Plumbers use them constantly on appliance supply lines and toilet connections for exactly this reason.
My garden shed shutoff uses a compression cap during the off-season. Two winters have passed, and it has never wept once. For accessible, visible locations, this method is hard to beat.
Method 3: Press Fit Caps, the Professional Standard
Press fit caps create the most permanent no-solder seal available. Professional plumbers rely on this method daily when torches are impractical. The result looks nearly identical to a soldered cap.
A press cap contains a hidden rubber O-ring inside its cup. A special battery-powered press tool crimps the cap onto the pipe. The jaws compress the cap and O-ring with tremendous, even force. The finished joint is permanent and approved for behind-wall installation in most areas.
Here are the main advantages:
- Permanent joints suitable for hidden locations.
- Each crimp takes about five seconds.
- No flame, no fire watch, no burn permits.
- Extremely low failure rate when installed correctly.
- Ideal for sealing multiple pipes at once.
The obstacle is the tool. A proper press tool costs several hundred dollars to buy. However, home improvement stores and tool rental shops rent them at reasonable daily rates. Therefore, this method makes sense for bigger projects or when sealing several lines during a remodel.
If you are closing off multiple abandoned lines in a renovation, press caps deserve serious thought. One rental day covers an entire project. Additionally, many plumbers will press a few caps for you at a fair service price. Ask around before buying a tool you may only use once.
Method 4: Emergency Options for Stopping Leaks Fast
Sometimes water is actively escaping, and you need a fix immediately. Emergency capping options buy you time until a permanent solution arrives. These methods are temporary, but they genuinely save homes from water damage.
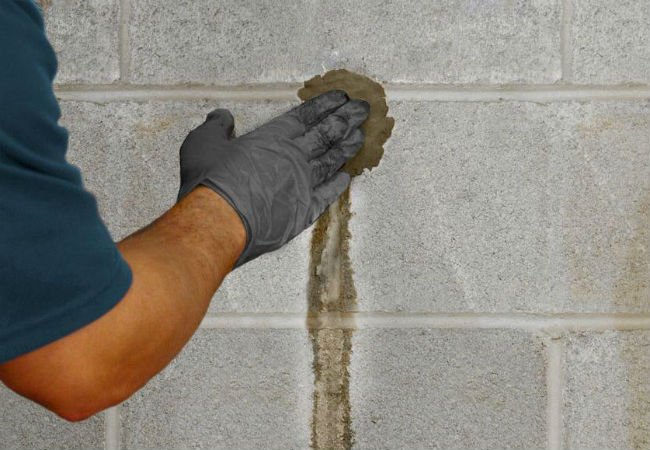
A pipe repair clamp is the simplest emergency option. This rubber-lined metal clamp wraps around a damaged pipe and seals the leak. Tighten the screws, and water stops flowing from the break. Additionally, epoxy putty sticks work for pinhole leaks. Knead the putty, press it over the hole, and let it harden.
Here is your emergency toolkit checklist:
- Pipe repair clamp for splits and larger breaks.
- Epoxy putty sticks for pinhole leaks.
- Push fit cap for a clean pipe end you can cut.
- Towels and a bucket for draining the line.
Freeze kits offer another clever trick. These tools freeze the water inside a pipe temporarily. The ice plug blocks flow so you can work downstream without shutting off the whole house. Professionals use this technique, and affordable home versions exist now.
However, keep expectations honest. These solutions are stopgaps, not endpoints. The American Red Cross recommends addressing damaged plumbing promptly to prevent mold and structural damage. Therefore, plan your permanent cap or repair within days, not months.
I keep a repair clamp and putty in my emergency kit. A clamp once stopped a cracked line for four days until my push fit parts arrived. That small kit has already paid for itself twice.
Common Mistakes to Avoid When Capping Copper Pipe
Capping a pipe is easy, yet small errors cause big problems later. Learn these mistakes now, and your cap will hold for years.
Skipping the water shutoff is the classic beginner error. Always close the supply valve or main first. Then open a low faucet to drain remaining pressure. Water in the line makes every method harder and messier.
Watch for these other frequent errors:
- Cutting the pipe with a hacksaw, leaving rough, angled edges.
- Forgetting to deburr, which cuts rubber seals during insertion.
- Pushing push fit caps on without marking the insertion depth.
- Overtightening compression nuts until the ferrule crushes.
- Capping corroded or damaged pipe that cannot hold a seal.
- Hiding capped joints inside walls where codes require access.
Testing is the final step people rush. After installing any cap, restore water slowly. Watch the joint closely for a full minute. Then dry it completely and check again after ten minutes. Slow weeps often appear only after pressure sits on the seal for a while.
Label the capped line if it feeds a future fixture. A small tag on the pipe saves confusion during later renovations. My basement cap has a tag noting the fixture it once served. Simple habits like this prevent headaches down the road.
Conclusion
Capping a copper pipe without soldering is a genuinely simple job. Push-fit caps seal a line in under a minute with zero tools. Compression caps cost less and work with basic wrenches. Press caps deliver permanent, professional-grade joints for hidden locations. Meanwhile, clamps and putty can handle true emergencies until a proper cap goes on.
That nervous moment with an open pipe in my basement taught me something valuable: plumbing tasks that sound scary are often very manageable. With the water off and the right fitting, anyone can cap a pipe safely in minutes. For more ways to protect your plumbing system over time, you can also learn about maximizing the lifespan of your PVC pipes with maintenance tips and best practices.
Have you capped a pipe in your home? Did you use a push fit cap or go old school with compression? Share your experience in the comments below. Additionally, if this guide helped you, share it with a friend facing an open pipe. You are now equipped to handle it with confidence!
Frequently Asked Questions
What is the easiest way to cap a copper pipe?
A push fit cap is the easiest. Cut the pipe square, clean it, and push the cap on to the depth mark. No tools needed.
Can I cap a copper pipe with water in it?
No. Always shut off the supply and drain the line first. Water pressure prevents any cap from sealing properly.
Are push fit caps permanent?
Yes, quality caps are rated for permanent use when installed correctly. They can still be removed later with a disconnect clip.
Can I use a compression cap inside a wall?
Most codes discourage hidden compression joints. Use them in accessible spots, or choose a press cap for behind-wall applications.
How do I temporarily stop a leaking copper pipe?
Use a pipe repair clamp or epoxy putty for a fast fix. Then install a proper cap or fitting within a few days.