Having a functional garage door opener is something many homeowners take for granted until that fateful day when you push the button, and nothing happens. One of the most common reasons your garage door opener stops working properly is a low or dead battery in the remote or motor unit. Don’t despair if you find yourself in this situation – repairing or replacing the batteries in your garage door opener is usually a simple DIY project you can tackle. Let’s learn how to repair a garage door opener battery.
Understanding the Garage Door Opener Power System

Modern garage door openers are powered in one of three ways:
- AC powered – This type plugs directly into a standard 120V AC outlet and does not run on batteries. If an AC-powered unit stops working, the issue is likely with the motor or logic board, not the battery.
- DC battery powered – Common in older or less expensive openers, these units run entirely on battery power. The motor unit requires 4-8 AA or C batteries, while the remotes need 1 or 2 small coin cell batteries. You have a DC battery-powered model if your opener doesn’t have an AC power cord.
- AC/DC hybrid – Most newer garage door opener models are hybrids, meaning they can run on household AC power with a battery backup to allow operation during power outages. The motor unit takes 8-12V DC from an outlet while housing a backup battery. Remotes are battery-operated.
Before attempting to replace or repair a garage door opener battery, make sure you understand which type of unit you have. This will determine the steps needed to get your opener running again.
Accessing the Garage Door Opener Batteries
To replace dead or dying batteries, the first step is gaining access to the battery compartments in both the remote and motor unit:
Remote: Garage door remotes are designed to make battery replacement easy. Look for a small slot, indentation, or catch on the side or back of the remote. Use a screwdriver to pry open the battery cover.
Motor unit: The motor and electronics will be housed in a long metal tube or carriage along the ceiling track. There will be a small access panel or screw on the bottom or side. Locate this panel and open it with a screwdriver to access the battery compartment.
If your model does not have an apparent removable access panel, refer to the manufacturer’s manual for instructions on disassembling the housing to reach the batteries. On some models, the entire motor unit must be removed from the ceiling mount to access batteries.
Checking Existing Batteries
Once you open the battery compartments, check all batteries for corrosion or leaks. Remove any batteries that look bulged, cracked, or are leaking fluid. Batteries in this condition should be disposed of carefully. Battery acid can burn skin and damage your opener.
Use a multimeter or battery tester to check the charge level of any intact batteries. If the batteries read more than 80% charged, the issue with your opener may lie somewhere else. If batteries test below 50% charged, replacement is needed.
To determine the correct replacement type, compare old batteries with any markings inside the battery compartments. Most remotes use CR2032 or CR2025 coin cell batteries, while motor units need 6V or 12V batteries in formats like AA, AAA, C, or D.
Purchasing New Batteries
With the correct replacement battery types identified, purchase fresh batteries from any hardware store, home center, electronic shop, or online retailer. Buying a multipack is wise, so you have spares on hand for the next time batteries run down.
Here are some battery-purchasing tips:
- Buy name-brand batteries from reputable manufacturers like Energizer or Duracell for the most extended life.
- Check the manufactured date code – newer batteries have longer shelf lives.
- Avoid generic or rechargeable batteries in garage door openers.
- Purchase the correct sizes to match your existing batteries.
- Alkaline batteries typically last longer than lithium in opener applications.
- Cold temperatures can shorten alkaline battery life. Use lithium batteries in cold climates.
- Buy both remote and motor unit batteries at the same time. If one set dies, the other is likely close behind.
Investing a few extra dollars in quality batteries will save you from the hassle of frequent battery replacements down the road.
Installing New Garage Door Opener Batteries
Once you have fresh replacement batteries in hand, they can be installed in just a few minutes:
Remote:
- If the old batteries are still in place, remove them first.
- Match the positive (+) and negative (-) terminals on the new batteries with the markings in the battery compartment.
- Slide both batteries into place with the opposing end first.
- Replace the battery cover.
Motor unit:
- Remove any depleted batteries and dispose of them properly.
- Check for battery terminal markings or a wiring diagram inside the compartment. This shows the proper battery order and orientation.
- Load the new batteries following the terminal diagram. Most units use 4-8 batteries wired in series.
- Replace any wiring harness connectors that were unplugged to access the batteries.
- Close up the battery compartment cover and secure any screws.
When installing batteries, never mix old and new. Always replace all batteries at the same time with a freshly matched set. Combining old and new batteries can cause electrical issues and shorten battery life.
Testing and Troubleshooting the Opener

Once new batteries are loaded, test the garage door opener:
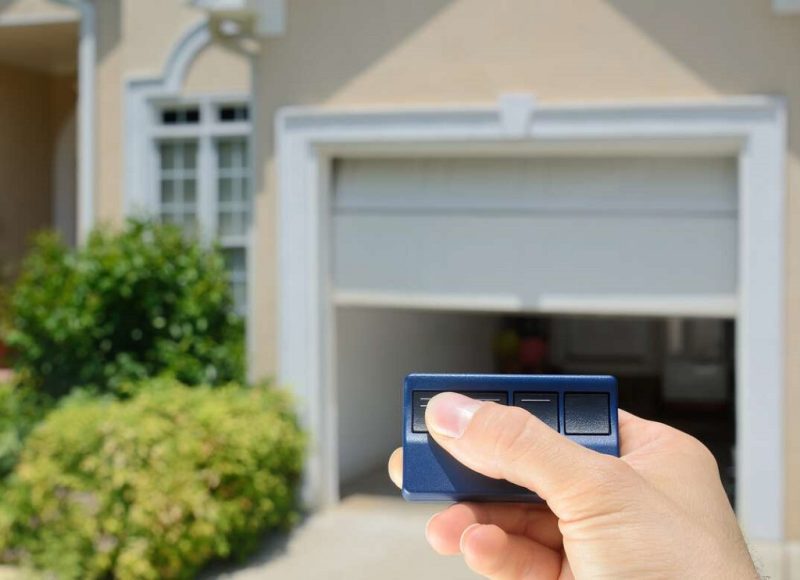
- Press the remote button. The motor unit should activate, and the door should open or close.
- If the remote works correctly, your job is done! Let the remote control close the door to ensure it works perfectly.
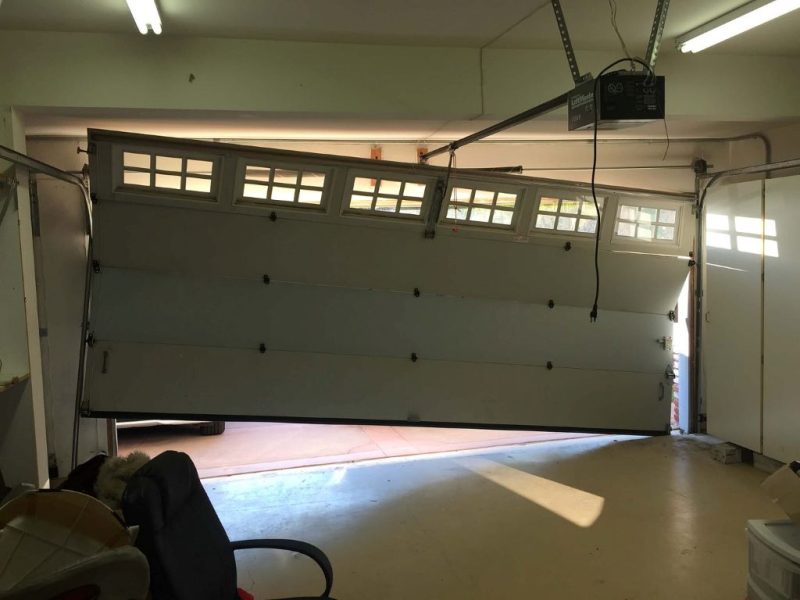
If the opener still does not work, troubleshoot these issues:
- Verify the remote display shows the button press. If not, the remote batteries may be installed incorrectly.
- Try a second remote if you have one. The remote, not the motor, maybe the issue.
- Check if the motor unit lights flash when the remote is pressed. No reaction points to a motor unit problem.
- Battery voltage may be too low if the motor runs slowly or without normal force. Replace again with fresh alkaline or lithium batteries.
- Ensure batteries are making tight contact and fully seated in each compartment.
- Motor unit battery wires may be loose or corroded. Check all connections.
- Multiple batteries may need to be replaced in the proper order to provide the correct voltage.
With fresh batteries installed correctly in the remote and motor unit, your garage door opener should again open and close the door smoothly. Enjoy the convenience of your opener working correctly again. Just keep spare batteries on hand so they continue working for years.
5 FAQs about Repairing Garage Door Opener Batteries
Still, have questions about maintaining the batteries in your garage door opener? Here are answers to 5 of the most frequently asked questions:
Q: How often do garage door opener batteries need to be replaced?
A: Remotes typically need new batteries every 1-2 years or when they stop operating the door. On average, motor unit batteries last 3-5 years, but cold weather and frequent cycling can shorten lifespan. Replace when the motor slows or no longer has normal strength.
Q: Why did my brand-new batteries stop working after a few weeks?
A: Extreme hot or cold temperatures can sap battery power prematurely. Also, be sure to buy name-brand, high-quality batteries from a reputable store for a longer lifespan. Avoid counterfeit or rechargeable batteries. Install batteries correctly to avoid draining them unevenly.
Q: Can I use rechargeable batteries in my garage door opener?
A: Rechargeable batteries are not recommended. They provide lower voltage than disposable alkaline or lithium batteries, resulting in weaker opener operation. The multiple charge/discharge cycles required will also shorten the lifespan of rechargeable batteries.
Q: How do I dispose of old batteries safely?
A: Batteries can leak harmful chemicals and should not simply be thrown in the trash. Take them to a hazardous waste disposal center, electronics or hardware store that accepts batteries for recycling, or contact your city about battery recycling programs.
Q: Why does my motor unit emit a beeping sound when the batteries are low?
A: The beeping noise alerts that your garage door opener batteries must be replaced soon. The multiple beeps indicate low voltage. Follow the battery replacement steps above to restore regular operation and stop the beeping alarm.
Conclusion
Constantly replacing batteries in your garage door opener remote and motor unit can be annoying. But keeping fresh, high-quality batteries installed at all times will ensure you can always rely on your garage door opener system to work when needed. Follow the battery access, replacement, installation, and troubleshooting steps outlined above. Learning how to program your remote to the garage door opener with just household tools not only restores the seamless operation of your garage access but, with the suitable batteries in place, you can once again enjoy the convenience of pulling in and out of your garage at the click of a button, all without leaving the comfort of your car. Just be diligent about checking battery levels and having spare batteries on hand when they inevitably run down.