Programming a new remote for your garage door opener is a straightforward process that can usually be done in just a few minutes using tools you likely already have around the house. While garage door opener models vary, the general programming process involves locating the “learn” button on the opener motor head and pressing it to activate the receiver. Then, you press the button on the remote you want to program. The opener motor will recognize the remote’s frequency and add it to memory. Let’s discover how to program remote to garage door opener.
Below, we will walk through the step-by-step process for programming a garage door opener remote, from gathering the tools you need to test that the remote works. We will also provide troubleshooting tips in case you run into any hiccups along the way. With just a bit of time and a few standard tools, you can have complete control of your garage door opener in no time from the convenience of a remote.
Gather the Necessary Tools

Programming a garage door opener remote only requires a couple of essential tools that you likely already have on hand:
- The new remote – It may have come with your garage door opener initially, but it needs to be programmed. You may have purchased a replacement or spare remote instead.
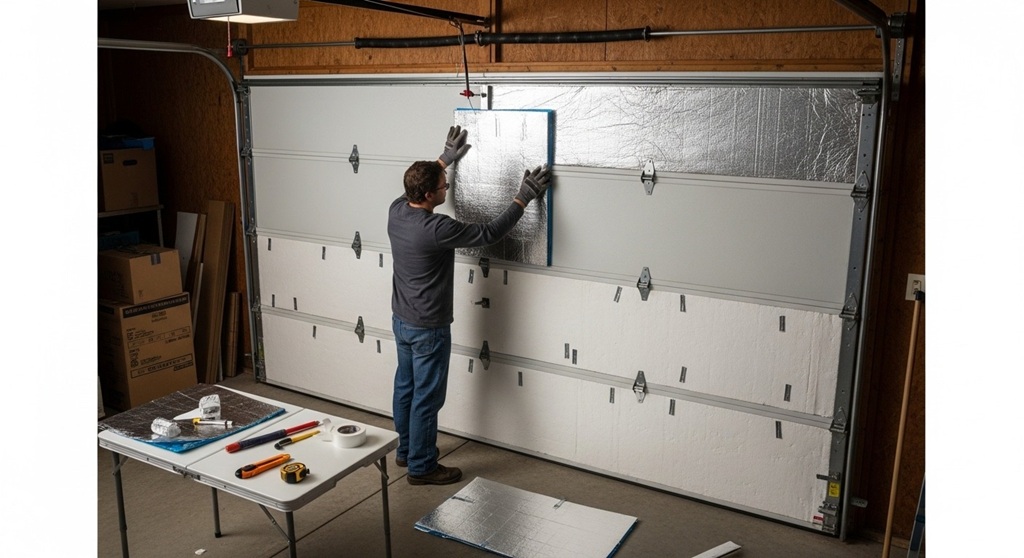
- A ladder – You will need a ladder tall enough to reach the motor head of your garage door opener to access the “learn” button. An 8-foot ladder is sufficient for most standard garage ceilings.
- A Phillips head screwdriver – This is required to remove the light cover panel on the motor head to locate the “learn” button.
- Your owner’s manual – Consult the manual for your specific garage door opener model for instructions on accessing the “learn” button and the programming process. If you don’t have the manual, check online for a digital copy.
Once you have gathered this essential toolkit, you can begin programming.
Locate the “Learn” Button
The programming process relies on finding and pressing your opener motor head’s “learn” button. This allows the motor to receive and store the frequency of the remote you want to program. The placement of this button varies based on the garage door opener brand and model. It is usually located under the light cover on the motor head.
Here are some common “learn” button locations to check:
- Light cover panel – Remove the soft cover on the bottom of the motor head. The “learn” button is often concealed underneath the back panel.
- Side panel screws – The “learn” button may be located behind one of the side panel screws on the motor head casing.
- Top of the motor head – Some models place the “learn” button along the top of the motor head, out in the open.
Refer to your owner’s manual to identify precisely where your unit’s “learn” button is situated. You may need to use the Phillips head screwdriver to remove a panel or screw to access it. The “learn” button is generally labeled yellow or orange for easy identification.
Press the “Learn” Button
Once you locate the “learn” button, press it to activate the receiver on the garage door opener. Here is the basic process:
- While standing on the ladder facing the motor head, locate the “learn” button.
- Press and immediately release the “learn” button. An indicator LED light will likely flash, signaling that the opener is in “learn mode” and ready to receive a signal.
- After pressing the “learn” button, you will have approximately 30 seconds to initiate the next step of transmitting the remote’s signal.
Refer to your owner’s manual for specifics on how long you have after pressing the “learn” button to program the remote. This time window can vary slightly by model. Work promptly after activating “learn mode” so the motor does not time out before receiving the signal.
Transmit the Remote’s Signal
With the opener receiver activated and ready to accept a signal, the next crucial step is transmitting that signal from the remote. The process is quick and straightforward:
- While remaining on the ladder facing the motor head, take your new remote in hand.
- Locate the programming button on the remote. This is generally the sizeable main activation button in the center.
- Press and hold the programming button on the remote for 2-3 seconds. Then release. This transmits the frequency signal to the opener’s receiver.
- If programming is successful, the LED light on the motor head will turn solid or illuminate twice. The remote’s signal is now stored in the opener’s memory.
The specifics of how long to hold the remote’s button can vary slightly by model. Check your owner’s manual to confirm the exact timing, but around 2-3 seconds held down is standard.
Once you activate the remote’s programming function after pressing the “learn” button, the opener will pick up the signal and register your new remote.
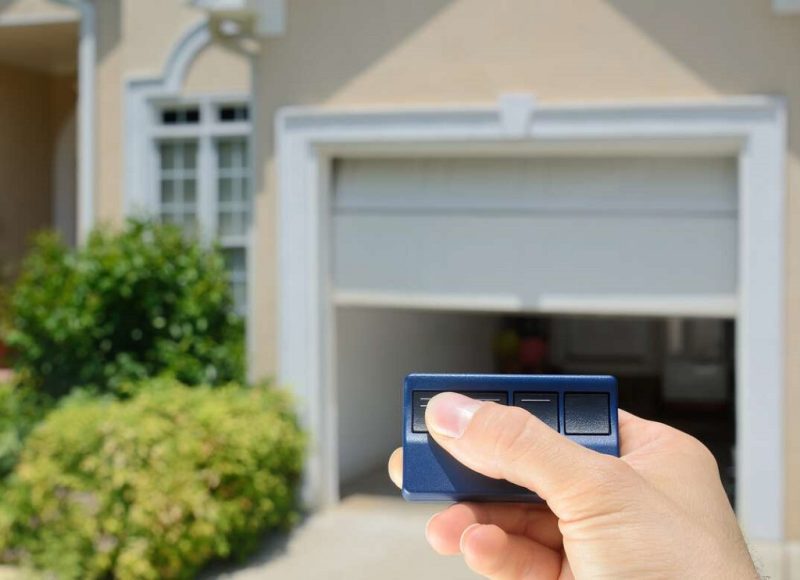
Test the New Remote
After completing the programming process, you will want to seet that your new remote can open, close, and control the garage door as expected.
Here is how you can test and confirm the proper function:
- Press the remote’s main activation button outside the garage to open the door. The door should smoothly open.
- Allow the door to open fully, then press the button again. This should cause it to close.
- Stop the closing process mid-way by pressing the button a third time. The door should halt and reverse direction to open again.
- Let the door fully open once more, then use the remote button to close it entirely.
- Test any other remote functions, such as controlling auxiliary lights.
Programming was successful as long as the remote can open, close, stop, and reverse the garage door as intended. The remote will now serve as a convenient way to operate the door from a distance.
Troubleshooting Tips
If your new remote does not control the garage door properly during testing, there are a few quick troubleshooting steps to take:
- Repeat the programming process – You may have pressed the “learn” button, held the remote too briefly, or timed out. Redo each step carefully.
- Check the remote battery – Ensure your remote has fresh or properly charged batteries. Low battery power can disrupt signal transmission.
- Eliminate interference – Make sure no strong radio signals or devices cause interference to disrupt communication.
- Reset or unplug the motor – Unplugging or restarting the motor head can clear memory or reception issues.
- Check the manual – Revisit the programming instructions per the manufacturer’s owner’s manual to ensure proper steps.
- Contact customer service – If still unsuccessful, contact the garage door opener’s customer service for further assistance and troubleshooting.
With some quick troubleshooting, you will likely get your new remote programmed and working with the opener so you can quickly come and go.
Programming Multiple Remotes
After getting one remote program, you may want the convenience of having multiple remotes that can operate the garage door. This allows family members or housemates to each have remote access.
Adding remote, once the opener is already programmed, takes just a couple of quick steps:
- Take the new remote you want to program.
- Press the “learn” button on the motor head unit again.
- Within 30 seconds, press and hold the button on the new remote.
- Verify that the remote now opens, closes, and controls the door.
You can continue repeating steps 2-4 to add remotes as needed. The opener can store several remotes in memory at once. This provides convenience for anyone who regularly needs access.
Replacing a Lost or Broken Remote
Over time, garage door opener remotes are prone to getting misplaced, lost, or broken. Replacing a remote you already had programmed is simple. You must add the new replacement remote using the same programming process.
To replace a previously programmed remote:
- Obtain a new remote unit. This may be available from the opener manufacturer or third-party brands.
- Follow the programming steps to press the “learn” button on the motor head.
- Within 30 seconds, press and hold the button on the new remote.
- Verify the remote can fully operate the door.
The opener will store the new replacement remote’s signal and any other remotes in its memory. The lost remote’s frequency will be replaced, preventing the missing remote from working in the future. All other remotes will still function normally.
Clearing All Stored Remotes
If you have lost multiple remotes or want to erase any existing remotes from the opener’s memory, you can fully clear and reset the stored signals. This wipes the memory clean and lets you start fresh with programming remotes.
Here is how to clear all remotes:
- Press and hold the “learn” button on the motor head for 10-15 seconds.
- The LED light will likely flash. Once it turns solid again, release the button.
- All stored remotes should now be cleared from memory.
Check your owner’s manual for complete instructions based on the model. Others may involve pressing the “learn” button several times or cutting power briefly.
Once wiped, you can begin programming remotes, starting with step one. This gives you a clean slate if too many old remotes were floating around or programmed incorrectly.
Advanced Programming Options

Now that we have covered the basics, some garage door opener models offer more advanced programming and customization options. These may allow you to:
- Create temporary or specialized access – Give a repairman or dog walker timed remote access on certain days.
- Adjust opening and closing force – Change the motor power if the door is sticking or hard to operate.
- Set operating parameters – Specify a maximum number of remote buttons, operating temperature range, and other settings.
- Create device connections – Connect your opener to a smartphone, voice assistant, or other smart home device.
- Update software – Download new software versions from the manufacturer to improve performance.
Consult your owner’s manual to see if your model offers any of these more advanced programming abilities. While not necessary for essential functions, they allow you to fine-tune and customize your opener.
Frequently Asked Questions
What do I do if I lose my only programmed remote?
If your remote is lost or broken and you do not have any spares programmed, you will need to reset the opener system. This can be done by locating and pressing the “learn” button for 10-15 seconds until any stored codes clear. You can then program a new main remote.
How long does programming take?
Once you have located the “learn” button and gathered a remote, programming takes 1-2 minutes. Press the button, activate the remote, test the function, and you are done.
Can I program a remote for a different brand than my opener?
Possibly, some universal remotes are compatible across brands. Check specifications before purchasing. The safest bet is to buy a remote of the same brand.
What distance can the remote work from?
Most garage door opener remotes have an effective range of around 50-100 feet. Heavy walls or interference can affect signal strength and shorten the range.
How do I get the remote to control my garage door and gate?
It would be best to program the remote to each opener using the “learn” buttons separately. Test that the buttons function for both the garage and gate.
Why does my remote have a flashing LED?
A flashing LED light on the remote often indicates low battery power. Replace the batteries for robust signal transmission.
Can I add more than one remote?
Yes, most openers can store multiple remotes in memory at once. Just repeat the programming process for each additional remote.
How many remotes can I program?
The number varies by model, but most garage door openers can support around 20 to 30 remotes. Older remotes get replaced when new ones exceed capacity.
What if I accidentally program multiple remotes I don’t want?
Press and hold the “learn” button for 10-15 seconds until the LED light solidifies to clear out all stored remotes and start fresh.
Conclusion
Operating your garage door from the convenience of a remote is a beautiful modern luxury. By locating your opener’s “learn” button and following the proper programming steps, you can get a new remote programmed and working in just minutes using standard tools you likely already own.
While specific steps vary slightly based on brand and model, the general process is straightforward. Activate the motor’s receiver, How to Adjust Torsion Springs on Garage Door? Transmit the remote’s frequency, and test the operation. With the right tools and techniques, you will join the ranks of people who can pop their garage door open as they pull into the driveway at the simple push of a button. Programming the remote may inspire you to check out other modern convenience upgrades for your garage and home.