Keeping restrooms and bathhouses clean should be a top priority for any establishment. After all, cleanliness is next to godliness, right? When facilities are properly cleaned and disinfected, it not only presents a good image but also prevents the spread of germs and diseases. We’ll cover everything you need to know about effectively cleaning and disinfecting a restroom and bathhouse. You’ll learn tips and best practices for general cleaning and disinfection, what supplies you need, areas to focus on, establishing a cleaning schedule, and even answers to some frequently asked questions. So, let’s dive in!
Gather the Proper Supplies
Having the right cleaning tools and products on hand makes the job much easier. Before getting started, take inventory of your current supplies and restock anything you need. Useful supplies include:
- Cleaning Cloths: Have plenty of microfiber cloths for general cleaning. Disposable paper towels work well for applying disinfectants.
- Sponges: Opt for good quality multi-surface sponges with scrubbing power to tackle stuck-on grime.
- All-Purpose Cleaner: A reliable all-purpose cleaner can be used to wipe down most restroom surfaces.
- Disinfectants: Choose EPA-registered disinfectants proven effective against viruses, bacteria, and other pathogens.
- Rubber Gloves: Protect your skin from harsh cleaning agents with thick rubber gloves.
- Safety Goggles: When working with chemicals, wear snug safety goggles or glasses to shield eyes.
- Toilet Brushes: Invest in durable toilet bowl brushes with sturdy handles.
- Mops: Microfiber mops with removable pads make mopping floors much simpler.
- Buckets: Have a designated bucket just for cleaning—clearly labeled!

Tackle Cleaning by Level of Dirtiness
Strategically moving from the least soiled areas to the most dirty helps limit the spreading of filth. Make it standard protocol to:
- First remove any outside trash, used paper towels, etc.
- Start by dusting corners, baseboards, vents, higher shelves and light fixtures first.
- Descend to countertops, urinals, sinks, mirrors and other surfaces at eye level.
- Finish by scrubbing the floors, toilets and showers—typically the grimiest zones.
Having a game plan keeps the cleaning orderly and minimizes missed spots. Now, let’s explore best practices for cleaning common restroom components.
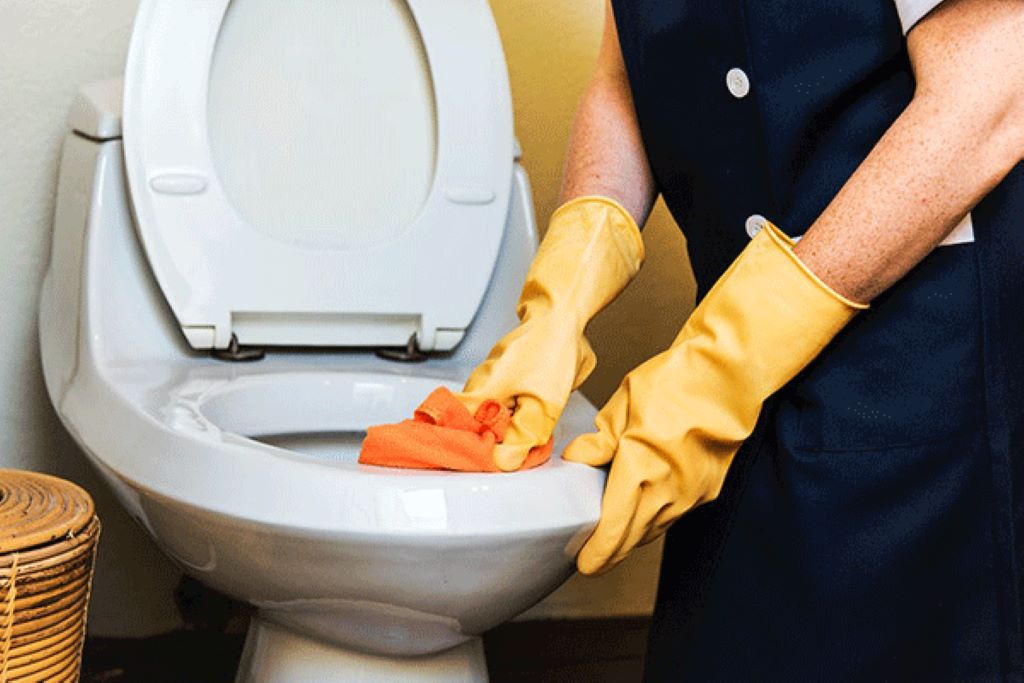
Cleaning Toilets, Urinals and Sinks
There’s no way around it—toilets collect plenty of gross stuff. Luckily with the right tools and techniques, sanitizing them is no sweat.
For Bowl Cleaning:
- Grab your trusty toilet brush and bowl cleaner.
- Scrub the bowl starting underneath the rim, where gunk loves to hide.
- Clean the tank, lid exterior, base and all exterior surfaces too.
For Full Disinfection:
- Apply disinfectant to bowl brushes to kill lingering bacteria.
- Pour disinfectant solutions inside the bowl and let soak per product instructions.
- Use disinfecting wipes on toilet seats, handles, doors and nearby surfaces.
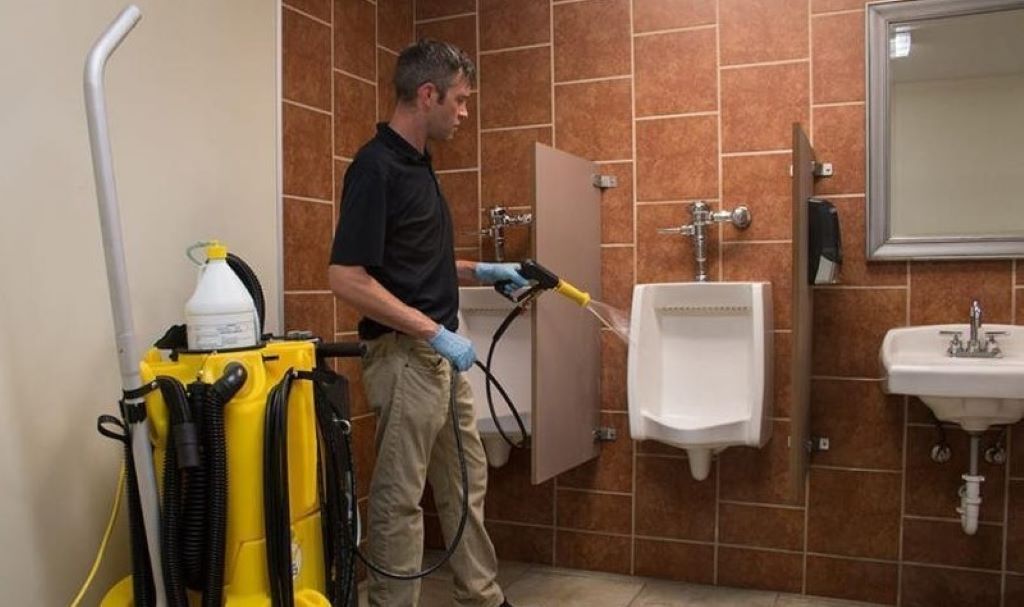
Urinals also benefit from regular scrub downs. Sinks should be cleaned just as thoroughly with disinfectant sprays or wipes. Pay special attention to handles, spouts and crevices where germs linger.
Cleaning Bathtubs, Showers and Lockers
Prevent soap scum buildup and mold growth by routinely cleaning:
- Bathtub and Shower Walls: Apply bathroom cleaner spray and let set a few minutes to allow chemicals to work before rinsing. Use a grout brush to lift grime from tile joints.
- Showerheads: Remove showerheads monthly and soak in a vinegar solution to dissolve mineral deposits clogging perforations.
- Shower Curtains: Toss plastic curtain liners monthly or machine wash cloth curtains on sanitizing cycle.
- Lockers and Benches: Scrub with multi-surface spray and dry completely to discourage mold growth in wet areas.
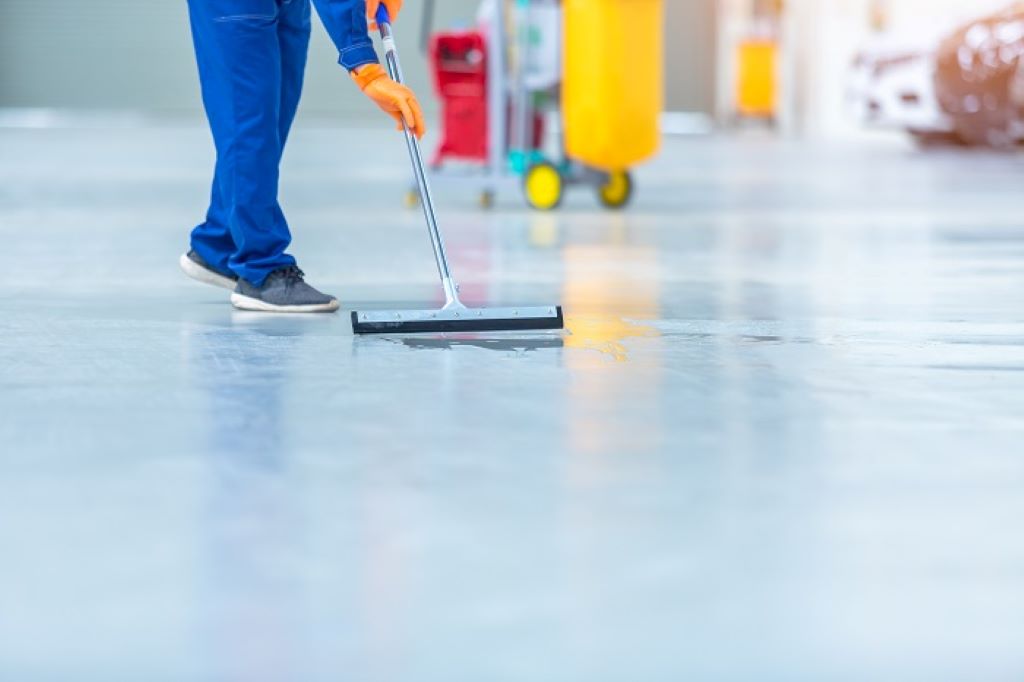
Cleaning and Disinfecting Floors
Here’s an easy 1-2 method when mopping floors:
- Use All-Purpose Cleaner for Initial Wipe Down
- Sweep up loose dirt, hair and debris with broom or dustpan first.
- Fill bucket with all-purpose cleaner diluted per label instructions.
- Soak microfiber mop and wring out well before mopping.
- Let the cleaner solution sit on floor ~10 minutes before rinsing.
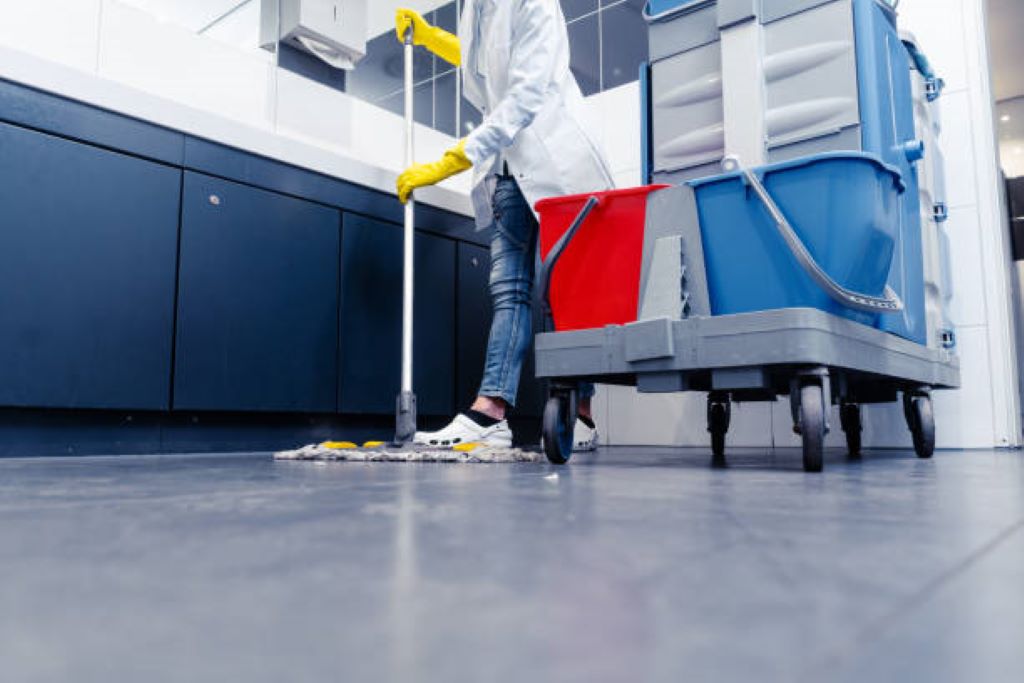
- Follow with a Disinfectant Once Floors Are Clean
- Mix disinfectant solution per product recommendations.
- Dip a new microfiber mop into solution and wring out thoroughly.
- Systematically mop floors to coat the entire surface with disinfectant.
- Allow proper contact time for disinfectant to work before a final rinse.
Disinfecting High-Contact Surfaces
Door handles, faucets, dispensers and other fixtures touched constantly are prime areas to attack with disinfectants.
Ensure surfaces are clear of debris before disinfecting. Apply EPA-approved disinfectant via a spray bottle, or wipe directly using disinfecting wipes. Be sure to follow all label instructions, including:
- Proper mixing ratios for concentrate disinfectants
- Necessary surface contact duration time
- Proper personal protective equipment like gloves
Disinfection Tips and Reminders
When working with disinfectants, remember:
- Always rinse surfaces treated with harsh disinfectants afterward, especially restroom fixtures.
- Open exterior windows or run ventilation fans when possible while disinfecting.
- Never mix cleaners or disinfectants together—toxic fumes can result.
- Rotate disinfectant salts and disinfection protocols to discourage resistant pathogens.
- Replace reusable cloths, sponges and mops frequently to avoid spreading contamination.
Establishing a Restroom Cleaning Schedule
Here is a sample cleaning schedule to help maintain restroom cleanliness:
Daily Cleaning Tasks:
- Empty all trash receptacles
- Sweep and wet mop floors
- Wipe down countertops and fixtures
- Clean inside toilet bowls
- Refill dispensers (soap, paper towels, etc.)
Weekly Cleaning Tasks:
- Thoroughly scrub toilet exteriors
- Spot mop floors as needed
- Clean mirrors, dispensers and partitions
- Disinfect all high-contact surfaces
Monthly Deep Cleaning Tasks
- Scrub bathroom walls and partitions
- Disinfect showerheads and locker areas
- Wash all removable mats, curtains, covers
- Clean HVAC vents and ceiling fans
By sticking to a consistent cleaning schedule, restrooms can stay clean and hygienic even with heavy facility traffic. Adjust schedules by scale of use as needed.
Extra Restroom and Bathhouse Cleaning Tips
Implementing some best practice policies can simplify restroom cleaning greatly:
- Install touch-free faucets, soap dispensers and hand dryers to reduce surface contamination.
- Utilize automatic odor-dispensing deodorizers to keep restrooms smelling fresher.
- Enforce “no shoes” policies for showers and locker areas to minimize floors getting slippery or dirty quickly.
- Maintain a cleaning log visible to visitors detailing last date/time facilities were disinfected.
- Train all staff properly on latest cleaning protocols and safety procedures. Provide necessary protective gear.
- Report any broken fixtures, low supplies or infrastructure issues needing repair immediately.
By staying vigilant on cleaning duties plus addressing problems promptly, facilities stay safe and sanitary for all users consistently.
Conclusion and Key Takeaways
Regular, thorough cleaning and disinfecting procedures are crucial for public restrooms and bathhouses. To ensure a pristine sink drain, start by stocking up on quality cleaning supplies, then methodically tackle high-touch zones, adhere to regular cleaning regimens, and reinforce smart restroom rules, all of which contribute to drastically lowering the risk of spreading infection.
- Always start cleaning the least soiled areas first before addressing high-traffic areas to prevent cross-contamination.
- Clean toilets, sinks and showers thoroughly using designated bathroom cleaners and the proper tools.
- Use all-purpose cleaners first on surfaces before disinfecting. Rinse disinfectants after proper contact time.
- Focus disinfecting on hot spots like door handles, dispensers, faucets and light switches.
- Maintain a regular cleaning schedule based on traffic and facility size.
- Train staff on latest procedures and install touch-free fixtures wherever possible.
By sticking to these best practices, public restrooms and bathhouses can stay fresh, safe and sanitary even with heavy daily use. Nobody enjoys cleaning the restroom and bathhouse, but when facilities are kept clean, everyone benefits!
Frequently Asked Questions
Q: How often should public bathhouse showers be cleaned?
A: Public or shared showers should be fully cleaned and disinfected daily at a minimum. For facilities with constant heavy traffic, twice daily cleaning is better to prevent slippery conditions or mildew.
Q: What is the best way to remove urine stains from around urinals?
A: The best treatment is to generously blot the area with paper towels to soak up excess, rinse thoroughly with water, spray with vinegar-based cleaner, let set 5 minutes, then rinse again. Repeat as needed for stubborn buildup.
Q: How should bodily fluids on restroom floors be cleaned?
A: Carefully blot up fluids with paper towels wearing gloves, gently scrape any solids then seal area with plastic sheeting. Mix 1 part bleach to 10 parts water to disinfect spot, let sit 10 minutes then rinse well and air dry before mopping the surrounding floor area.
Q: What is the minimum restroom cleaning frequency required legally?
A: Legally, restrooms in public establishments must be cleaned daily at minimum. However cleaning twice per day or more is highly recommended for decent hygiene based on use.
Q: What common mistakes lead to poorly disinfected public restrooms?
A: Rushing through cleaning, ignoring grimy areas likelight switches or vents, using diluted disinfectants improperly and failing to establish consistent cleaning intervals are common pitfalls allowing germs to thrive.