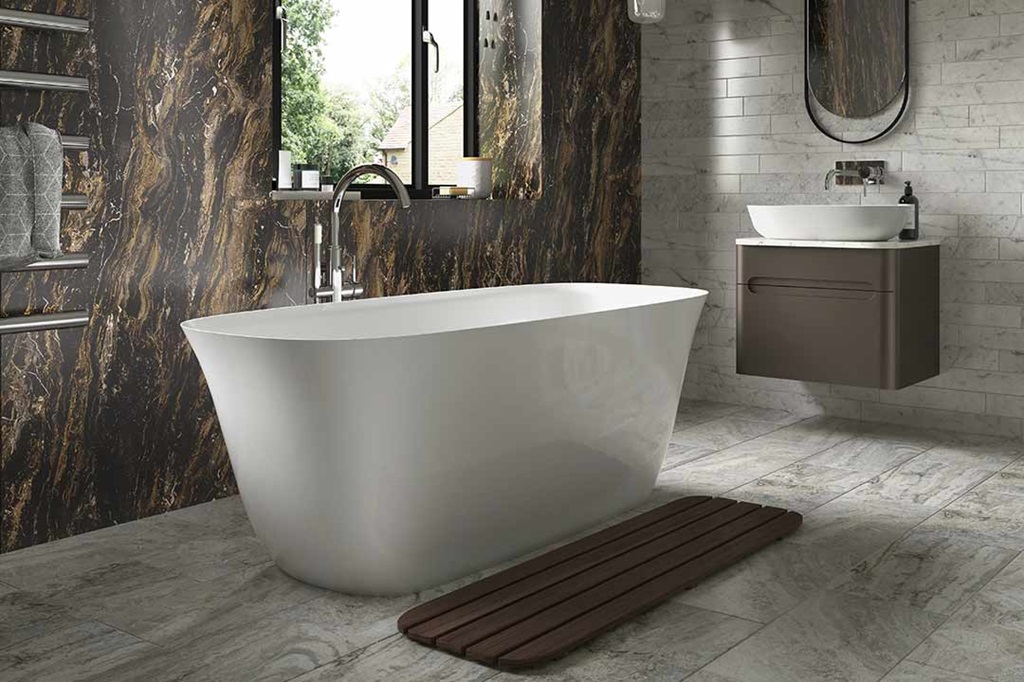
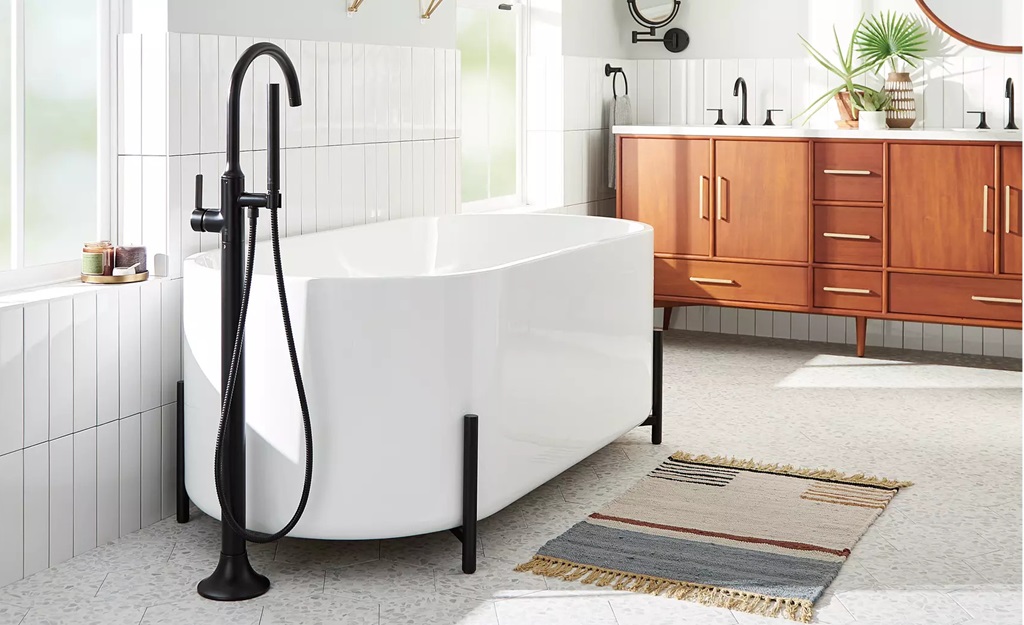
Floor mounted bath taps add a touch of elegance and modernity to any bathroom. As freestanding fixtures, they complement standalone tubs and create a luxurious, spa-like atmosphere. However, installing them can seem daunting due to the unique placement and plumbing requirements. Fear not—this guide will walk you through each step to ensure a successful installation. Whether you’re a DIY enthusiast or hiring a professional, understanding the process is key.
As we delve into the installation process, explore Premierliteracy for more in-depth insights on home improvement and installation techniques.
Benefits of Floor Mounted Bath Taps
Before diving into the installation, it’s crucial to understand why these fixtures are gaining popularity:
- Aesthetic Appeal: Floor mounted taps are sleek and modern, enhancing the overall design of your bathroom.
- Statistics: According to a survey by Houzz, 58% of homeowners renovating their bathrooms opted for freestanding tubs, often paired with floor mounted taps.
- Expert Opinion: “Freestanding bath taps provide unmatched visual symmetry, perfect for minimalistic or luxurious designs,” says interior designer Emma Hughes.
- Versatility: These taps are compatible with most freestanding tubs and can be installed in various layouts, offering flexibility.
- Functional Design: Many floor mounted bath taps feature built-in handheld showerheads, adding practicality to their aesthetic charm.
Now that you’re sold on their appeal, let’s move to the technicalities.
Tools and Materials Needed for Installation
Before starting the installation, gather the following tools and materials:
- Floor mounted bath tap kit
- Measuring tape
- Spirit level
- Adjustable wrench
- Pipe cutter
- Plumber’s tape
- Silicone sealant
- Drill and appropriate bits
- Plumbing pipes and fittings
Pro Tip: Double-check that all components in the bath tap kit match the manufacturer’s specifications.
Step 1: Planning and Preparation
- Choose the Right Location:
- Place the bath tap close to the freestanding tub, ensuring easy access.
- Use a measuring tape to confirm alignment with the tub’s center for symmetry.
- Assess Plumbing Requirements:
- Verify if your plumbing setup supports a floor-mounted fixture. You may need additional fittings or adapters depending on your existing pipe layout.
- Understand the Plumbing Configuration:
- Decide whether to use a sanitary tee or a wye for pipe connections. Learn more about the differences between sanitary tee vs wye to make an informed choice.
Step 2: Marking and Drilling the Floor
- Mark the Position:
- Place the floor-mounted tap in the desired spot.
- Use a pencil or chalk to outline the base and mark drill points.
- Drill the Holes:
- Use a drill with appropriate bits to create holes for the mounting screws.
- If working with tile or concrete flooring, use specialized drill bits for those materials.
- Ensure Pipe Access:
- Check that the holes align with the water supply pipes beneath the floor.
Logic Behind Precise Drilling: Proper alignment reduces the risk of leaks and ensures the tap’s stability. Misaligned holes can lead to uneven fixtures, affecting both aesthetics and functionality.
Step 3: Installing the Floor Mount
- Secure the Base:
- Place the mounting base over the drilled holes and secure it with screws.
- Use a spirit level to ensure the base is perfectly even.
- Connect Water Pipes:
- Attach the hot and cold water pipes to the corresponding inlets on the tap base.
- Apply plumber’s tape to the threads to ensure a watertight seal.
- Test for Leaks:
- Turn on the water supply briefly to check for any leaks in the connections.
Pro Tip: Always over-tighten connections slightly, as loose fittings are more prone to leaks.
Step 4: Assembling and Securing the Tap
- Attach the Tap:
- Align the tap body with the mounted base and secure it using the manufacturer’s provided screws or fittings.
- Install Additional Features:
- Attach any handheld showerheads or spouts included in your tap kit.
- Ensure all components are tightly secured.
- Seal the Base:
- Apply silicone sealant around the base to prevent water from seeping under the floor.
Expert Advice: Silicone not only prevents water damage but also adds stability to the fixture.
Step 5: Final Adjustments and Testing
- Align the Tap:
- Adjust the tap for perfect alignment with the freestanding tub.
- Use a spirit level again to ensure the fixture is straight.
- Test the Water Flow:
- Turn on the water supply and test both hot and cold water.
- Check the handheld showerhead and spout for proper operation.
- Inspect for Leaks:
- Carefully examine all connections and seals for any signs of leaks.
Related: Stop the Drip! Easy DIY Fix for a Leaky Showerhead
Common Installation Challenges and Solutions

- Uneven Floors:
- Challenge: A slanted or uneven floor can misalign the tap.
- Solution: Use shims to level the base before securing it.
- Incompatible Plumbing:
- Challenge: Existing pipes may not align with the tap’s inlets.
- Solution: Consult a plumber to reroute pipes or use flexible hoses.
- Leaking Connections:
- Challenge: Improper seals can cause leaks.
- Solution: Reapply plumber’s tape and tighten fittings securely.
Maintenance Tips for Floor Mounted Bath Taps
- Regular Cleaning:
- Use a soft cloth and mild cleaner to prevent water spots and limescale buildup.
- Inspect Seals:
- Check silicone and plumber’s tape seals annually to ensure they remain watertight.
- Check for Corrosion:
- Monitor metal components for signs of rust, especially in high-humidity environments.
Fun Fact: According to plumbing experts, well-maintained fixtures can last over 15 years, saving homeowners significant replacement costs.
Related: How to Fix a Loose Bathtub Spout: A Comprehensive Repair Guide
Should You Hire a Professional?
While installing floor mounted bath taps can be a rewarding DIY project, it may not be suitable for everyone. Consider hiring a professional if:
- You lack experience with plumbing or power tools.
- Your plumbing system requires significant modifications.
- You want to ensure a flawless finish.
Cost Analysis: Hiring a professional can cost $150–$500 depending on your location and the complexity of the installation. However, this investment ensures long-term reliability.
Conclusion
Installing floor mounted bath taps may seem like a complex task, but with the right tools, preparation, and guidance, it’s achievable for most homeowners. By following the steps outlined in this guide, you’ll enjoy a stunning and functional addition to your bathroom.


