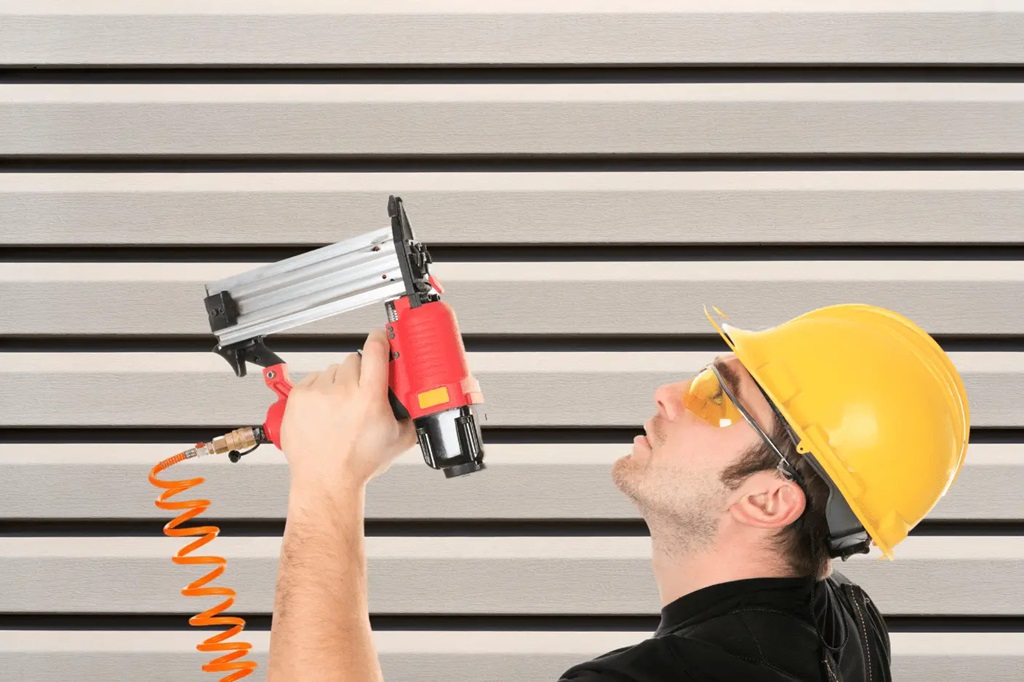
If you’ve ever done any roofing work, you know that hammering in each nail by hand can be exhausting and time-consuming. That’s where a roofing nailer, also called a roofing gun, comes in handy. A roofing nailer lets you quickly drive nails into roofing materials like shingles with power from compressed air.
Properly using a roofing nailer takes some practice, but once you get the hang of it, it can greatly speed up roofing jobs. This guide will cover everything you need to know about using a roofing nailer safely and effectively.
Steps to Use a Roofing Nailer
Here are the key steps to safely and effectively use a roofing nailer:
- Inspect the nailer for any damage or missing guards before use.
- Connect the air supply hose securely from the compressor to the nailer.
- Set the air pressure to the PSI recommended for the nailer model (typically 70-120 PSI).
- Load the proper nails/fasteners into the magazine or coil holder. Make sure they move smoothly into the barrel.
- Adjust the nail depth so the head sinks flush with the shingle surface.
- Brace the nailer foot firmly on the roofing material with secure footing underneath.
- If needed, fire a test nail into a scrap or hidden area and adjust depth/pressure.
- Drive nails in the proper pattern for the material, maintaining smooth pace and control.
- Remember safe footing, balance, and arm extension when nailing.
- Disconnect the air supply when done nailing to prevent accidental firing.
Following these key steps will allow you to use a roofing nailer efficiently and safely on roofing jobs. Get comfortable with the nailer’s operation before starting on visible roof areas.
How Much PSI Do You Need for a Roofing Nailer?
Roofing nailers require a high-pressure air compressor to operate. Most roofing nailer manufacturers recommend an air compressor that can deliver 70-120 PSI of air pressure.
This constant pressure allows the nailer to drive nails quickly through tough roofing materials. Too little PSI and the nails won’t have enough force to seat themselves fully.
When using a compressor to power a roofing nailer, the air tank size and compressor CFM (cubic feet per minute) output also come into play. Follow your nailer’s requirements for tank size and compressor output CFM to ensure optimum performance.
As a general guideline:
- For pneumatic roofing nailers, use a compressor with a 5-8 gallon tank size and output of at least 5 CFM at 90 PSI.
- For coil roofing nailers, use a 3-5 gallon tank-size compressor with an output of at least 3.5 CFM at 90 PSI.
The tank size allows the compressor to deliver a sustained burst of power to sink nails quickly. The CFM rating means it can keep up with the nailer’s air demands for continual nailing.
Safety Tips When Using a Roofing Nailer
While extremely useful, power roofing nailers can be dangerous if proper precautions aren’t taken. Follow these essential safety tips when using your roofing nailer:
- Wear eye protection – Roofing nailers can eject nails or fragments that could damage the eyes. Safety glasses or goggles should always be worn.
- Use heavy work gloves – Thick leather gloves protect hands from nails and hot roofing materials.
- Check your footing – Only use a roofing nailer when you have secure footing. If you are on a roof, use anchors, scaffolds, or slides to avoid falls.
- Disconnect the air supply when not in use – Don’t leave a roofing nailer unattended with the air connected. Accidental triggering could drive nails into people or objects.
- Maintain complete control of the nailer – Gripping the nailer correctly gives maximum control and avoids recoil injuries.
- Don’t disable or override any safety mechanisms – Features like trigger locks and contact trip springs prevent accidental nail discharge.
- Ensure safe operation before use – Inspect the nailer for defects or damage. Make sure all guards are in place. Clear any jammed nails.
Following these precautions will help prevent severe injuries like punctures, muscle strains, and falls if a roofing nailer is used unsafely.
What Size Air Compressor Do I Need for a Roofing Nailer?
To choose the suitable air compressor for your roofing nailer, you’ll need to know:
- The PSI and airflow (CFM) requirements of the nailer model
- How many nails per minute do you plan to drive
- Whether you’ll use other air tools like impact drivers with the compressor
Most roofing nailer models require 2-5 CFM of airflow at 70-120 PSI to operate correctly. Professional roofers planning to sink hundreds of nails per hour should use a compressor that significantly exceeds the bare minimum requirements.
Some general air compressor sizing guidelines based on your roofing workload:
Light Duty Roofing
For small DIY roofing jobs (less than one roof section) with lower nail usage, you can get away with the following:
- 2-3 gallon tank
- 2-3 CFM @ 90 PSI output
This covers basic coil roofing nailers for short tasks.
Medium Duty Roofing
For larger roofing jobs (1-2 complete roofs) with moderate to heavy nailing required, look for a:
- 5-6 gallon tank
- 4-5 CFM @ 90 PSI output
This will provide enough power for most pneumatic roofing nailers at a moderate workload.
Heavy Duty Roofing
Commercial roofers replacing multiple large roofs per day need serious air power:
- 7-10+ gallon tank
- 6+ CFM @ 90 PSI
- 100+ PSI capability
Larger tank sizes prevent the compressor from constantly cycling to meet extreme nail demands. Investing in a suitable heavy-duty compressor will pay off through big-time savings over hand nailing.
Buying a compressor that slightly exceeds your expected demand ensures you have some extra power capacity when needed. It also allows using multiple nailers or tools if a helper joins the job.
What Is the Best Roofing Nailer?

With many roofing nailer models available from brands like Hitachi, DeWalt, and NuMax, choosing the right one can be tricky. Here are the best roofing nailers in popular categories:
Overall Best Roofing Nailer
- Hitachi NV90AGS is an ideal balance of power, features, and price. It drives a full range of nail sizes.
Pneumatic Roofing Nailer
- DeWalt DWFP12231 – Lightweight magnesium housing withstands job site abuse. Easy depth adjustment.
Coil Roofing Nailer
- NuMax SFR2190 is a durable 21-degree coil nailer with tool-free adjustments under $100.
Cordless Roofing Nailer
- DeWalt DCN692B – Brushless motor drives as many nails per charge as pneumatic models.
Value Roofing Nailer
- Porter Cable FR350B – Dependable entry-level roofing nailer under $200. Easy to maintain.
Heavy Duty Roofing Nailer
- Hitachi NV65AH2 – Commercial grade nailer delivers 1,200 nails per battery charge—lots of power.
The right choice depends on your budget, mobility needs, and workload demands. If possible, try out a few models to get a feel for differences in power, balance, and ease of use.
Using a Roofing Nailer: Step-by-Step Guide
Once you have a suitable roofing nailer and air compressor, follow this process to start driving nails quickly and appropriately:
1. Inspect for Safety
Before connecting anything, thoroughly inspect the nailer for any issues:
- Check that all guards are in place and nothing is cracked or damaged.
- Ensure the trigger and handle are in good condition.
- Look down the barrel for any jammed nails or debris.
- Make sure the piston/driver moves smoothly when tapped.
Don’t take chances with a damaged nailer – have it repaired by a qualified technician before use.
2. Connect the Air Supply
Attach the air hose from the compressor to the nailer’s quick connector. Make sure the connection is tight.
Use Teflon tape around any connector threads to prevent air leaks.
3. Adjust the Air Pressure
Set your compressor’s output pressure to the PSI required by the nailer, typically 70-120 PSI.
Some models have a built-in regulator to fine-tune pressure on the nailer. Adjust as needed until nails sink correctly.
4. Load Nails/Fasteners
Slide a coil of nails onto the nailer mandrel or insert a stick mag. Consult the nailer manual for the best fasteners to use.
Ensure the nail heads are facing out and the spiral or stacked nails move smoothly into the barrel.
5. Adjust the Nail Depth
Set the nail depth so the head sits flush with the surface. On shingles, this is just above the tar line.
Depth adjusters are typically set by turning a dial or sliding a tab. Test the depth on scrap material until it is perfect.
6. Position Nailer on Workpiece
Brace the nailer foot flush on the roofing. Position it so the nail will go into the intended area, usually just above a shingle tab cutout.
Maintain secure footing. Don’t overextend your stance and lose balance.
7. Fire a Test Nail
Pull the trigger to fire a test nail into scrap material or an inconspicuous area of the roof.
This ensures the nailer drives nails properly before you begin work. If the test nail doesn’t sink flush, adjust depth or pressure.
8. Drive Nails in Pattern
With the nailer braced and settings dialed in, you can start driving nails in the correct pattern.
On shingled roofs, nails are typically driven just above the shingle cutouts, so the next course covers them up. The nail is at the intersection of 4 shingles about 1″ from the sides.
- Set a smooth, steady pace to sink nails cleanly without splits or mushrooming the fastener head. Don’t rush.
- Let the nailer do the work. Don’t push down hard. Keep the foot flush with the surface.
- Avoid bumping the nailer to reposition. Lift fully off the surface between nails.
- Check periodically that nails consistently sink to the set depth as you go.
- Pause to reload nails or clear jams promptly to maintain your workflow.
With practice, you’ll learn to use the right touch and pace to drive perfect nails quickly.
9. Maintain Safety Discipline
Getting carried away with a roofing nailer is easy when you get in a groove. But don’t let up on safety:
- Stay mindful of your footing and body position. Move carefully along the roof.
- Keep your stance anchored and wear non-slip footwear.
- Don’t overextend your arms to reach too far.
- Stay alert for coworkers near your nail path.
- Take breaks to rest arms and reposition ladders. Nailing all day works muscles you didn’t know you had!
Maintaining discipline with gear and body positioning dramatically reduces fatigue and safety risks when using a roofing nailer extensively.
10. Disconnect the Air Supply When Done
Once finished nailing for some time, shut off the compressor and disconnect the nailer airline. This prevents accidental firing until you’re ready to resume work.
Following this complete roofing nailer usage process will help you drive nails accurately and efficiently while staying safe. Don’t hesitate to practice on scrap material until you are entirely comfortable handling a powered nailer on roofs.
Common Roofing Nailer Problems and Solutions

Despite proper use, roofing nailers can sometimes develop issues. Here are solutions for the most common problems:
Nails Not Sinking Fully
- Increase air pressure in small increments until nail heads sink flush
- Make sure the air supply can provide adequate CFM for the nailer
- Replace the worn driver blade if it’s not popping the nails fully
Nails Bending or Splitting
- Switch to a more robust fastener designed for hard roofing materials
- Reduce air pressure slightly if it’s crushing nails
- Check magazine and nosepiece assembly for burrs scraping nails
Constant Jamming
- Lubricate the nailer cylinder and magazine with pneumatic tool oil
- Ensure you’re using the nail sizes specified for the nailer
- Replace worn bumpers and followers that don’t hold nails straight
Leaking Air
- Tighten any loose air fittings with a wrench
- Apply Teflon tape to air connector threads
- Have the faulty quick connector replaced by a technician
Lots of Recoil When Firing
- Add rubber bumpers behind the nailer’s foot to absorb energy
- Use a wider stance and firm grip to control recoil forces
- Reduce air pressure slightly if force is excessive for the nail size
Following the nailer troubleshooting tips from the manufacturer can also help isolate and correct more complex issues. Maintain your roofing nailer properly, and it will deliver reliable service for many roofing jobs.
Conclusion
Learning to use a roofing nailer proficiently requires getting comfortable with the equipment while maintaining safety. With some practice dialing in depths and speeds for different materials, a quality nailer can significantly reduce installer fatigue and speed up roofing jobs.
Following the usage tips and maintenance advice in this guide will help you safely reap the productivity benefits of a roofing nailer. Take time to learn to control the tool before taking on large roofing projects. And as always, exercise caution when working on elevated roof surfaces.
FAQs
Q: How often should you oil a roofing nailer?
A: When used heavily, pneumatic roofing nailers should be oiled daily. Put 2-3 drops of pneumatic tool oil in the air inlet and around the cylinder/driver areas. For lighter use, oil weekly to prevent corrosion.
Q: Can you load coil nails upside down?
A: No, always load coil nails with the heads facing outward. Upside-down nails will cause jams. Follow any directional arrows on the nailer.
Q: Should a roofing nailer be rested on the barrel or foot?
A: Always rest it on the foot when not in use. This prevents damage to the nail-driving mechanism. Never let the barrel touch the rooftop.
Q: How many shingles can a battery-powered nailer install per charge?
A: A cordless nailer’s fully charged battery can deliver 500-1200 shingles per battery, depending on the model and nail size. Keep extra charged batteries on hand.
Q: Is it ok to leave nails loaded in a nailer overnight?
A: Avoid loading nail strips or coils for extended periods if possible. Over time, nails can deform under spring pressure, causing jams.