When it comes to plumbing, construction, or any DIY project involving pipes, one of the first and most important tasks is knowing how to measure pipe size. Whether you’re fixing a leak, installing new piping, or upgrading your system, choosing the right pipe size is critical for ensuring proper flow, pressure, and durability. So, how do you measure pipe size accurately?
In this article, we’ll guide you through the simple steps of measuring pipe size, how to interpret those measurements, and why it matters. For a deeper dive into tools that can help with measuring and even adjusting piping systems, explore Bestusatools for high-quality, user-friendly tools that make measuring pipes a breeze. With the right knowledge and tools, you can tackle any pipe sizing task confidently.
Understanding Pipe Size Basics
Before you dive into the specifics, it’s crucial to understand what “pipe size” actually refers to. Pipe size can mean several things, depending on the type of system you’re working with and the units being used. For most applications, pipe sizes are defined by the inner diameter (ID) or the nominal pipe size (NPS), which is a standardized number used in plumbing and piping systems.
Nominal Pipe Size (NPS) is not the actual diameter of the pipe but a reference to its approximate size. It’s a nominal value used to standardize pipe sizes for easy identification. Outer Diameter (OD) and Inner Diameter (ID) are more precise measurements for practical applications, but NPS gives you a general guide.
Tools Needed to Measure Pipe Size
To get accurate measurements, you’ll need a few essential tools:
- Tape Measure or Ruler – A simple but effective tool to measure pipe length and circumference.
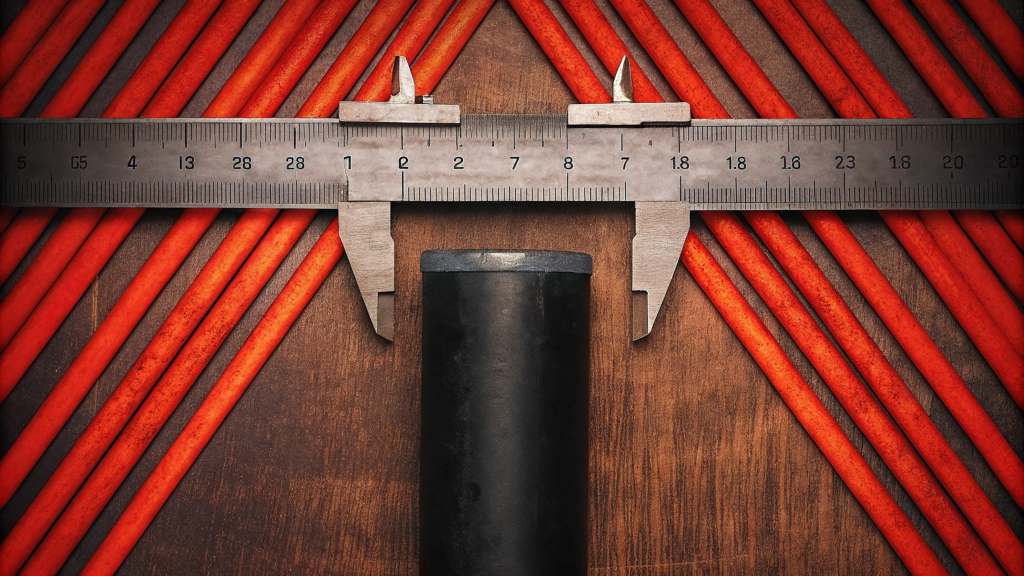
- Caliper – For precise measurements of inner and outer diameters.
- Pipe Sizing Chart – These charts help you convert measurements to pipe sizes based on the NPS.
- Micrometer – Used for extremely accurate readings, especially when you’re dealing with smaller pipes.
Make sure you have access to these tools before you start, as each one serves a specific purpose. For example, a caliper allows for an accurate ID reading, while a ruler can give you a quick estimate of the length of pipe you’re working with.

Step-by-Step Guide on How to Measure Pipe Size
Step 1: Measure the Outer Diameter (OD)
To determine the size of a pipe, the first thing you need to measure is its outer diameter. Place the tape measure or caliper around the outer circumference of the pipe and take the reading. The outer diameter is particularly useful for identifying pipe sizes in plumbing systems.
Step 2: Measure the Wall Thickness
Once you have the outer diameter, you’ll want to measure the wall thickness. This can be done by measuring the distance between the inside and outside surfaces of the pipe. If you have a micrometer, this is the most accurate method.
Step 3: Measure the Inner Diameter (ID)
To get a precise understanding of the flow capacity of the pipe, measuring the inner diameter is key. Using a caliper or ruler, measure the distance across the interior of the pipe. The ID is particularly important when you’re determining how much fluid or gas the pipe can handle.
Step 4: Refer to Pipe Sizing Chart
Once you have the measurements of the pipe, compare them with a pipe sizing chart. This chart will give you the nominal pipe size (NPS) based on the outer diameter or the ID.
Why Accurate Pipe Measurement is Crucial
Flow and Pressure: Incorrect pipe sizing can lead to improper flow rates or insufficient pressure. For example, if a pipe is too narrow for a particular application, the flow rate will be reduced, leading to potential problems in the system.
System Durability: Properly sized pipes ensure the longevity of your plumbing system. Pipes that are too large or too small may cause strain on joints, leading to leaks and system failures.
Compliance: In many regions, plumbing systems need to comply with specific standards. Accurate pipe sizing ensures that your system meets the required codes, reducing the risk of safety violations.
Pipe Flange Types for Different Applications
Sometimes, measuring pipe size alone isn’t enough to ensure a tight seal in a piping system. This is where pipe flange types come in handy. Flanges are used to connect pipes and provide a leak-proof seal. There are several different pipe flange types, each designed for specific applications. These include:
- Slip-on Flanges – Ideal for smaller pipes or low-pressure systems.
- Weld Neck Flanges – Commonly used in high-pressure systems where a more robust connection is required.
- Blind Flanges – Used to seal the end of a pipe, preventing any further flow.
Choosing the right flange type is just as important as measuring pipe size, as it ensures the system operates without leaks or failures.
Common Mistakes When Measuring Pipe Size
Measuring pipe size might sound straightforward, but several mistakes are commonly made. Avoid these errors to ensure accurate measurements:
- Not Accounting for Pipe Wall Thickness
While you may focus on the outer diameter, neglecting the wall thickness can lead to errors, especially for larger pipes. - Using the Wrong Units
Different regions and industries use different units (inches, millimeters, etc.), so it’s crucial to ensure you’re using the correct unit of measurement. - Ignoring Pipe Type
Different pipe materials (PVC, steel, copper) may have different thicknesses and tolerances. Always account for the type of pipe you’re working with.
Common Pipe Sizes and Their Uses
- 1/2 inch (12.7 mm): Commonly used in residential plumbing for water supply lines.
- 3/4 inch (19 mm): Often used in home plumbing and small industrial systems.
- 1 inch (25.4 mm): Common for gas lines and larger water distribution systems.
- 2 inches (50.8 mm) and above: Used for larger industrial systems, drainage, and high-volume piping systems.
Each pipe size corresponds to different applications, so knowing how to measure the correct size is essential for the success of your project.
Troubleshooting Common Pipe Sizing Issues
Pipe sizing isn’t always as simple as measuring the diameter and going about your business. There are some common challenges people face when measuring or selecting the right pipe size. These include:
- Underestimating Flow Needs: If the pipe size isn’t large enough to handle the flow, you’ll see reduced pressure, water backup, or worse, system failure.
- Overestimating Pipe Size: On the other hand, using a pipe that’s too large may result in higher material costs and unnecessary complexity in installation.
These issues can be avoided by carefully measuring and considering the needs of your specific system.
Conclusion
Measuring pipe size is not just about taking a quick measurement and moving on. It’s a precise task that requires the right tools and careful attention to detail. Whether you’re dealing with residential plumbing, industrial systems, or DIY projects, knowing how to measure pipe size ensures that you make the right choice every time. By understanding the basic concepts, tools, and measurements, you can confidently tackle any piping project.


