Human beings have always had the need to store their belongings and trunks have been an indispensable piece of furniture for this. Today you can find really nice trunks in many stores or you can also be fortunate to have an old trunk that needs to be restored.
If this is your case, you will learn how to restore an old trunk in 4 simple steps in this post. Also, we are going to recommend all the products you need for work and the best thing is that you can buy them without leaving home.
How to rebuild and restore trunk?
To explain the process, we will take as an example of the restoration work carried out by one of our clients. The truth is that the result was spectacular. Take a look and start giving your furniture a second life. We started!

Step 1: Clean and sand the wood and metal
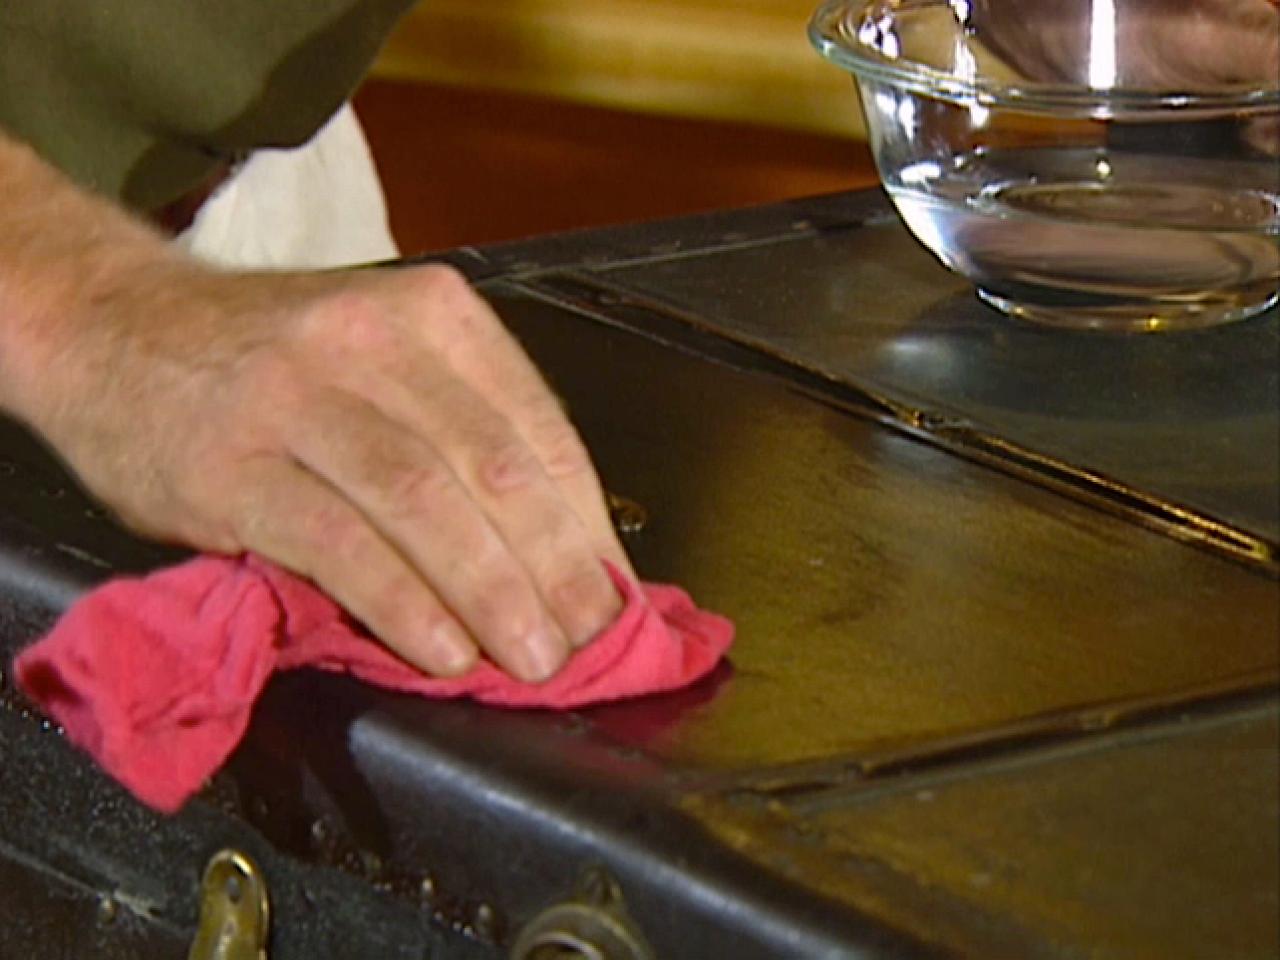
The first step in restoring an antique trunk is to clean the entire piece of furniture thoroughly. The part has probably accumulated dirt, dust, and rust over the years.
If you want to achieve a good result, you must remove all these remains before restoring the piece. To clean, we can use a damp cloth.
If the furniture has already been painted or varnished previously – something common when restoring old trunks – you should remove that old paint with the stripping technique.
You should also take care of cleaning the trunk’s interior area, which was usually covered with paper. To remove all the remains, you will need a spatula, water to moisten, and patience.
Restoring old trunks is a delicate and time-consuming task, but the result is well worth it.
Once you have cleaned all the surfaces and have any damage, you can sand the surface with sandpaper. Remember that there is special sandpaper for wood and special sandpaper for metal. You can also choose to use special machinery to speed up the sanding process.
Keep in mind that it may be necessary to replace some old trunk areas such as veneers or hardware if they are broken.
Step 2: Protect the surface
Once the surface is free of dirt in the case of wood and rust in metal parts such as hardware or corner pieces, it is time to protect these areas of the trunk. For this, you must choose a suitable and quality product.
Remember that you are investing a lot of work in repairing your old trunk, so do not skimp on the products you will apply. This ensures that the restoration remains flawless for many years.
Regarding metal parts, you can treat and protect them with an oxide neutralizer such as Oxifin. You can skip this step if you are going to paint with an enamel that allows you to apply directly to rust.
If your trunk’s wood is affected by woodworm (if you see that the furniture has small holes, it means that it has woodworm), you should apply a previous treatment to eliminate it.
Step 3: paint the old trunk
We continue to learn how to restore an old trunk and we get to the most fun step… painting!
Here your creativity comes into play when choosing how you want to decorate your trunk. You can also base yourself on the space it will occupy in your home, making it match the existing decoration.
In this case, acrylic paint was chosen in a beautiful Aragonese blue tone. If you can’t find the ideal color, you can also mix shades.
Another painting that is also perfect for these jobs is chalk paint. If you like the world of painting, decoration and restoration, surely you have heard of it, right?
Part of the wooden pieces and the hardware keys were left natural. The corner pieces and the rest of the fittings were painted with water-based enamel in black.
Once the paint is dry, we recommend applying several colorless wax coats to protect the entire piece of furniture.
Step 4: decorate the inside of the trunk
Now is the time to take care of the interior of the furniture. You can choose to upholster with fabric or paper with wallpaper. This last idea is used by our client, who covered the interior with striped paper and a matching border.


